
Hey all, thanks for stopping by Bitterroot DIY!
For more project ideas, you can find me on Pinterest. And to stay up to date with the latest shenanigans, follow me on Instagram.
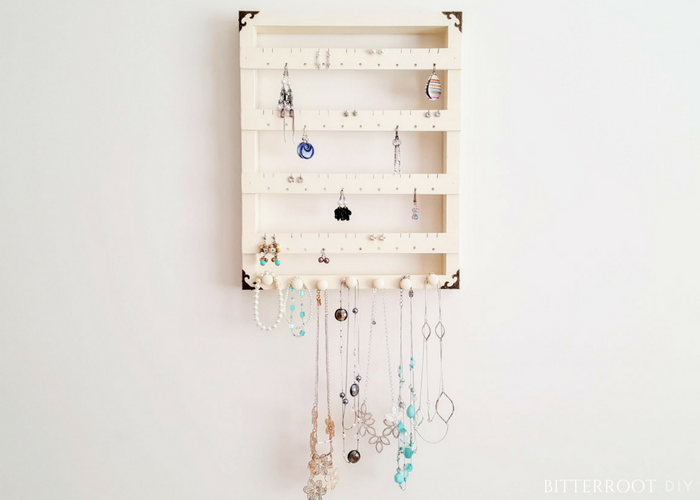
Have you seen all the jewelry organizers on Etsy? They’re a great decoration and make it so much easier to find your different accessories. My sister-in-law recently found one she liked and asked if I could make it, so here I have the step-by-step for any of you who’d like to go the DIY route!

This post contains affiliate links. See my full disclosure here.
Lumber:
- 1 | 1×2 – 6′
- 1 | Wood Lathe – 4′
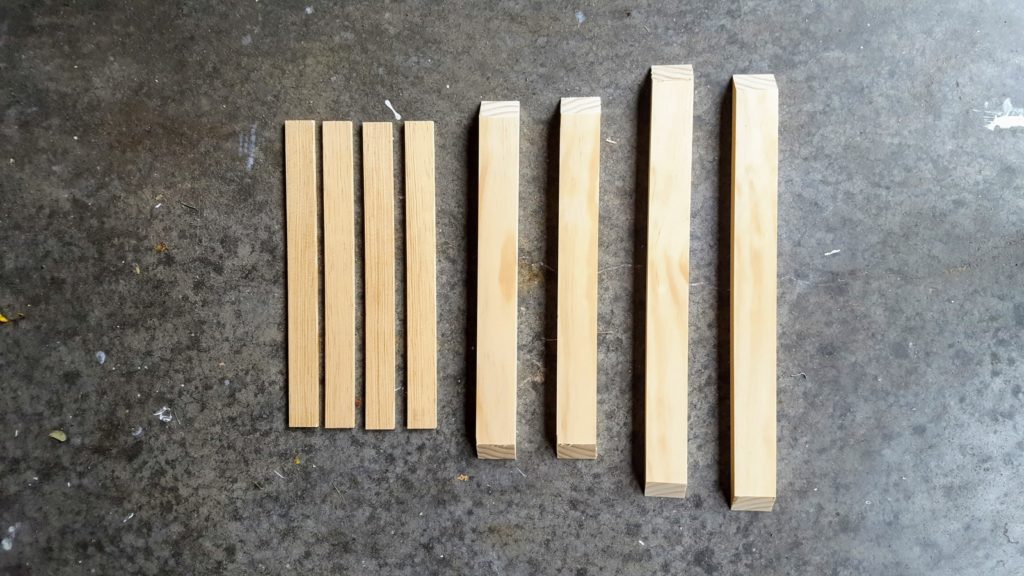
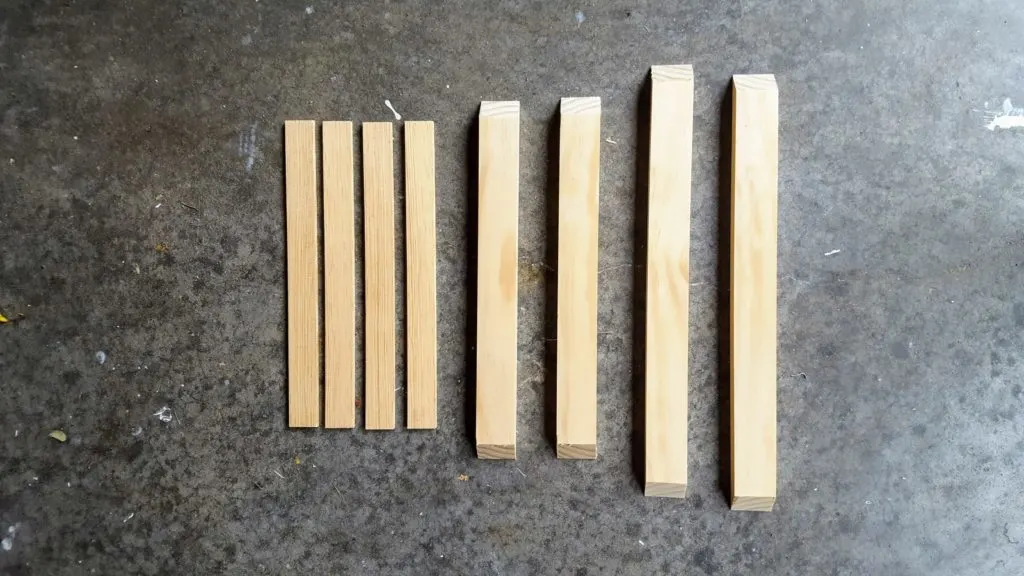
Cuts:
- 2 | 1×2 @ 12″ on long side with 45° perpendicular beveled ends (frame)
- 2 | 1×2 @ 15″ on long side with 45° perpendicular beveled ends (frame)
- 4 | Wood Lathe @ 12″ (slats)
Tools & Supplies:
- Miter Saw
- Drill
- Cable Saw ( used for the slits for stud earrings)
- Hammer and Finish Nails (or finishing nailer)
- Wood Glue
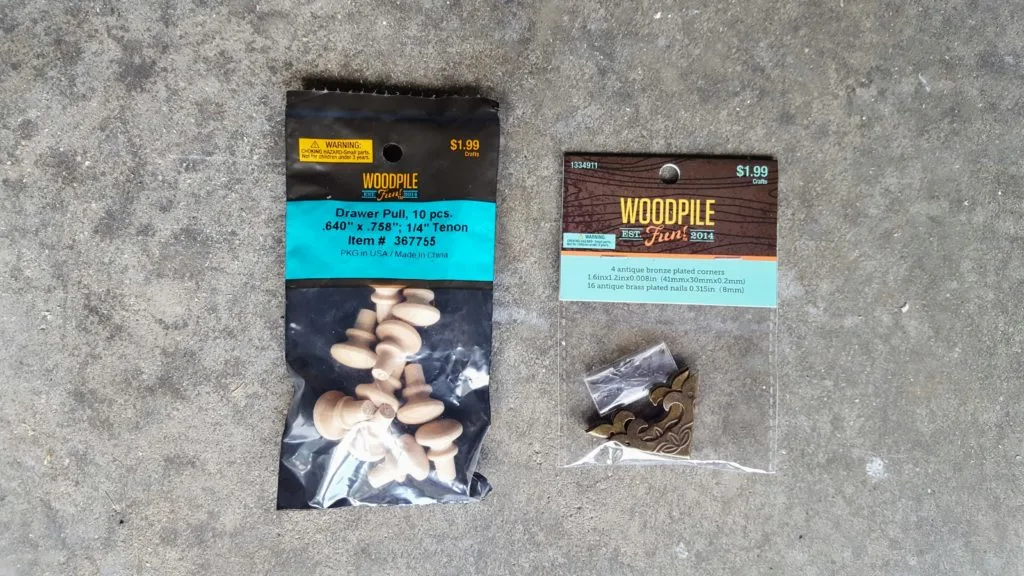
- Corner Hardware (I found mine at Hobby Lobby but here is a similar set from Amazon)
- Wood Pegs (found at Hobby Lobby)
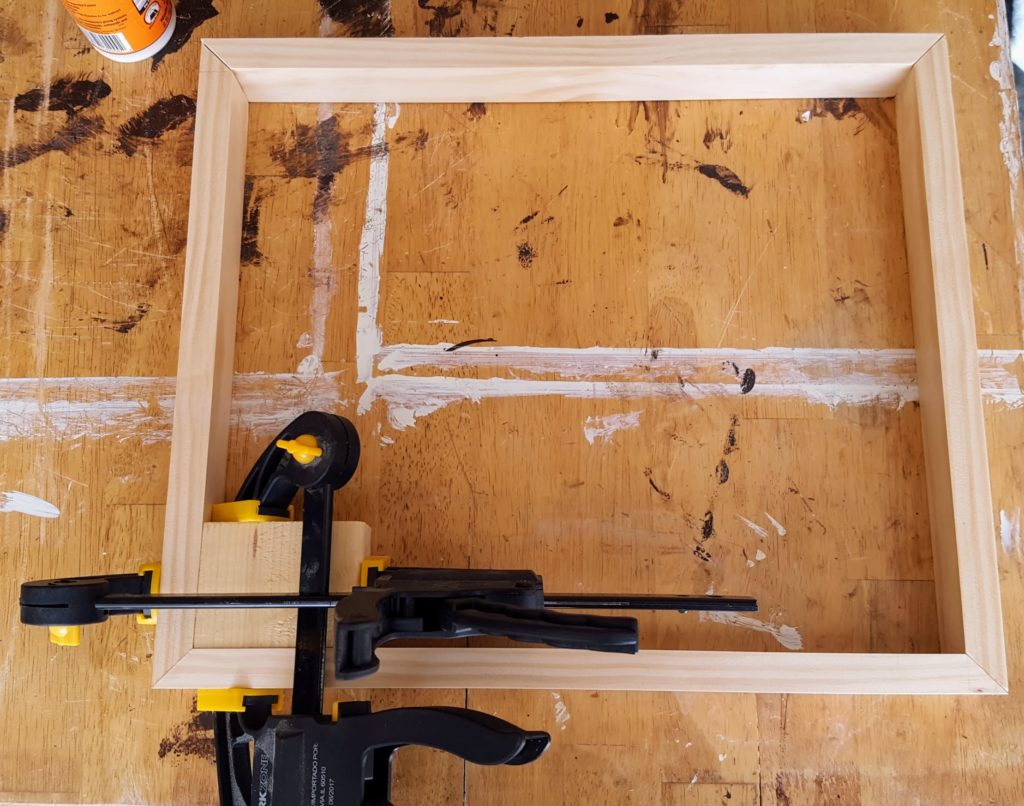
Step 1.
Cut your boards according to the cut list and assemble the frame.
Attach the frame with wood glue, clamp in place, and let dry.
*Tip: Use a block at each corner to ensure the frame is square. It may seem self-explanatory, but make sure the block edges are perfectly square before using it to square up your projects.

Step 2.
Add the jewelry organizer slats.
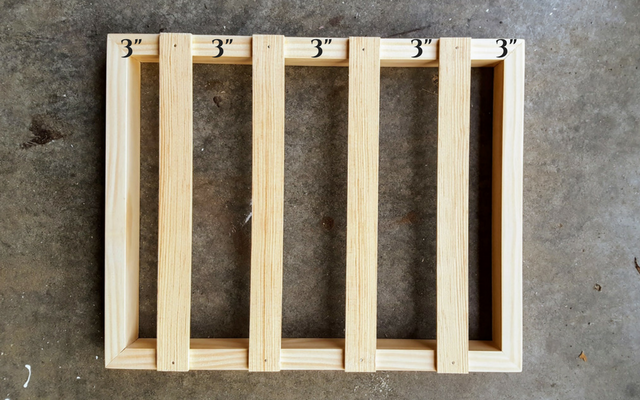

Position the top and bottom slats 3″ from the top and bottom of the frame, and space the middle slats 3″ apart from center-to-center. Attach with wood glue and finish nails.
Step 3.
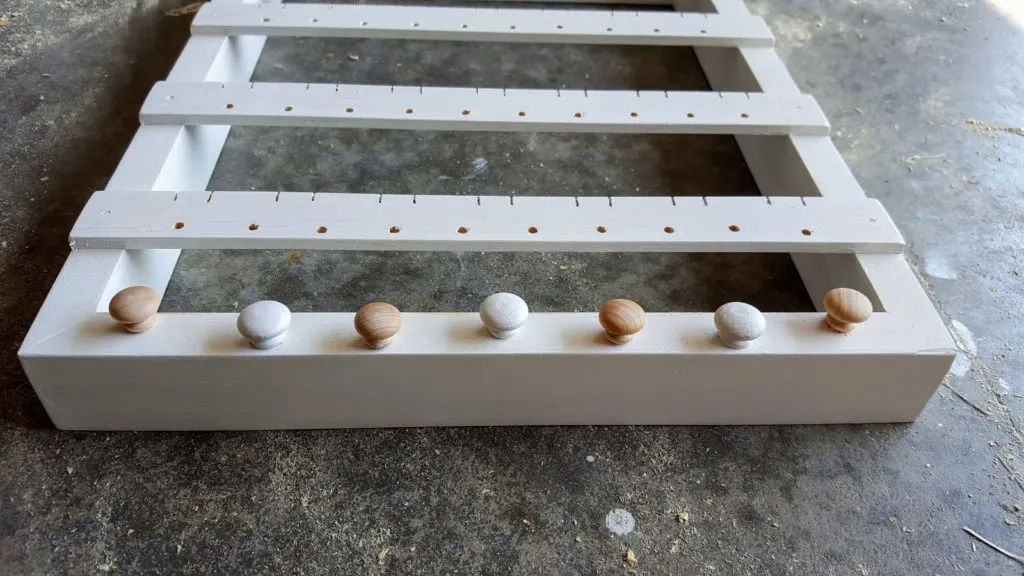
Drill holes 1″ apart along all four slats for long, dangling earrings. Then saw slits along the opposite side of each slat for earring studs.
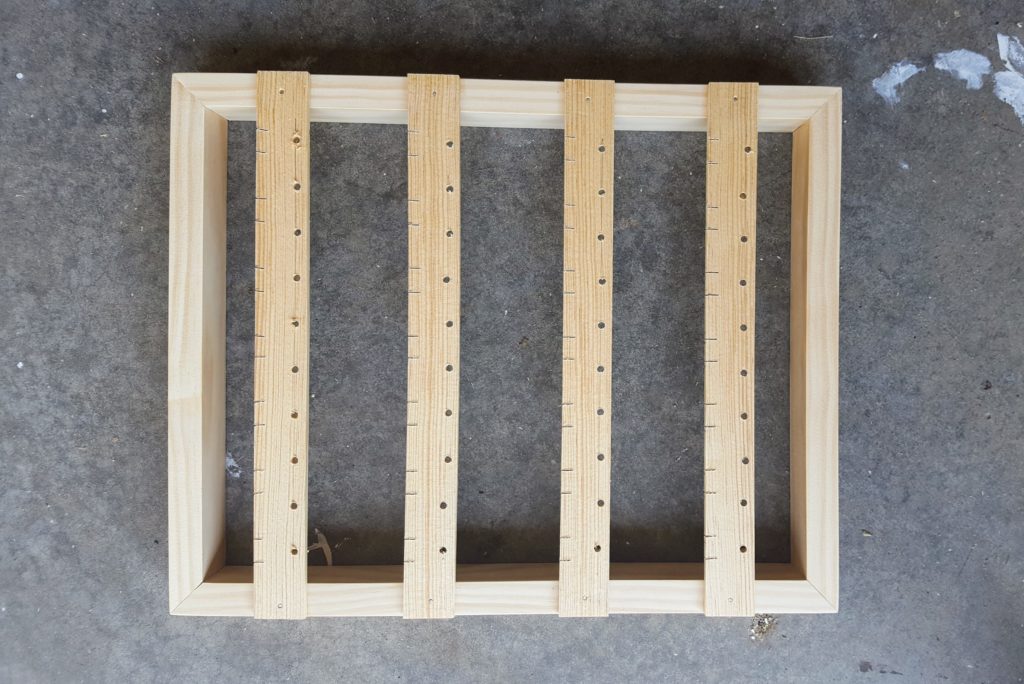
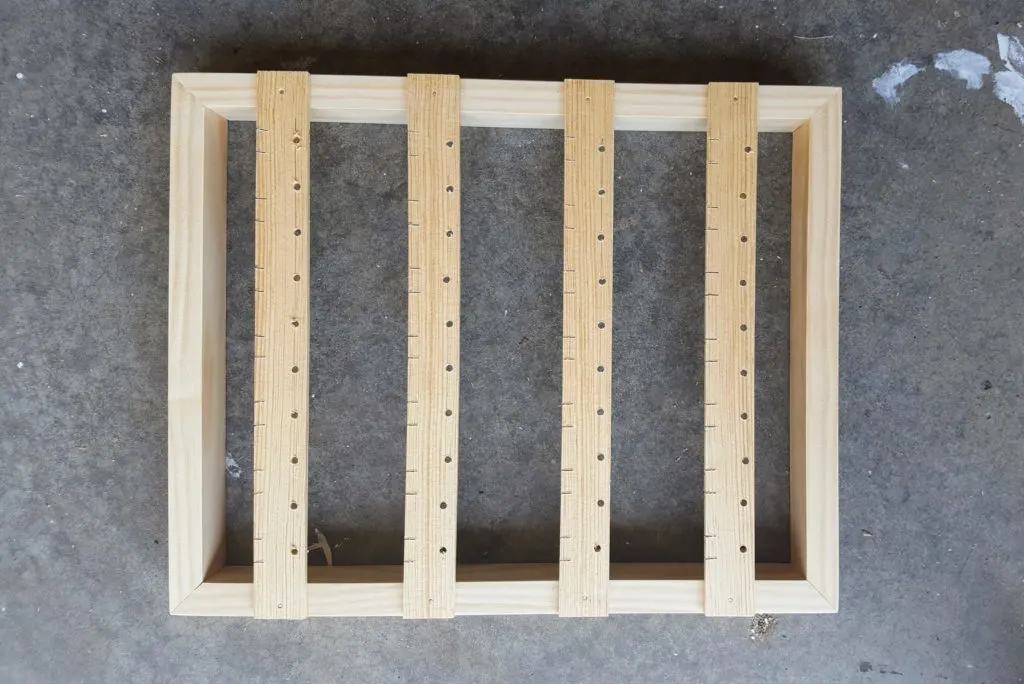
I used a Cable Saw for the earring stud slits. As you can see in the photo above, there are some discrepancies since I sawed each slit by hand.
A band saw would work really well for this. However, it’s not necessary if you don’t have access to one.
Plus, doing it by hand builds character … amirighttt 😉
Step 4.
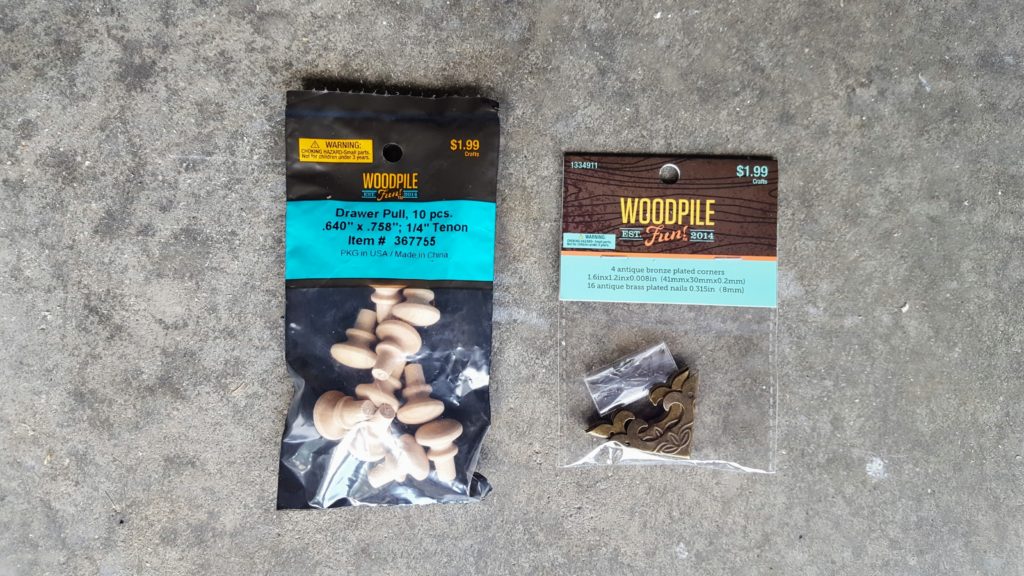
Attach the necklace pegs.
I found these great wood drawer pulls and corner plates at Hobby Lobby. I used the drawer pulls for the necklace pegs and added the corner plates at the end of the project as a fun little accent!
To attach the necklace pegs, begin by spacing the pegs along the bottom of the jewelry organizer.
I decided to use seven pegs, but you can add as many or as few as you would like. I also staggered the pegs, which is designer’s choice … up to you depending on your style!
Once you have everything laid out, pre-drill holes for each of the pegs, insert, and attach with wood glue.

Pretend half the project isn’t already painted … I may have made a few critical mistakes and had to go fix the mess part-way through finishing … but let’s not talk about that 😉
Step 5.
Sand and finish as desired!
I used Rustoleum’s Satin ‘Heirloom White’ spray paint. This stuff is seriously the best. It took just one coat to finish the project!
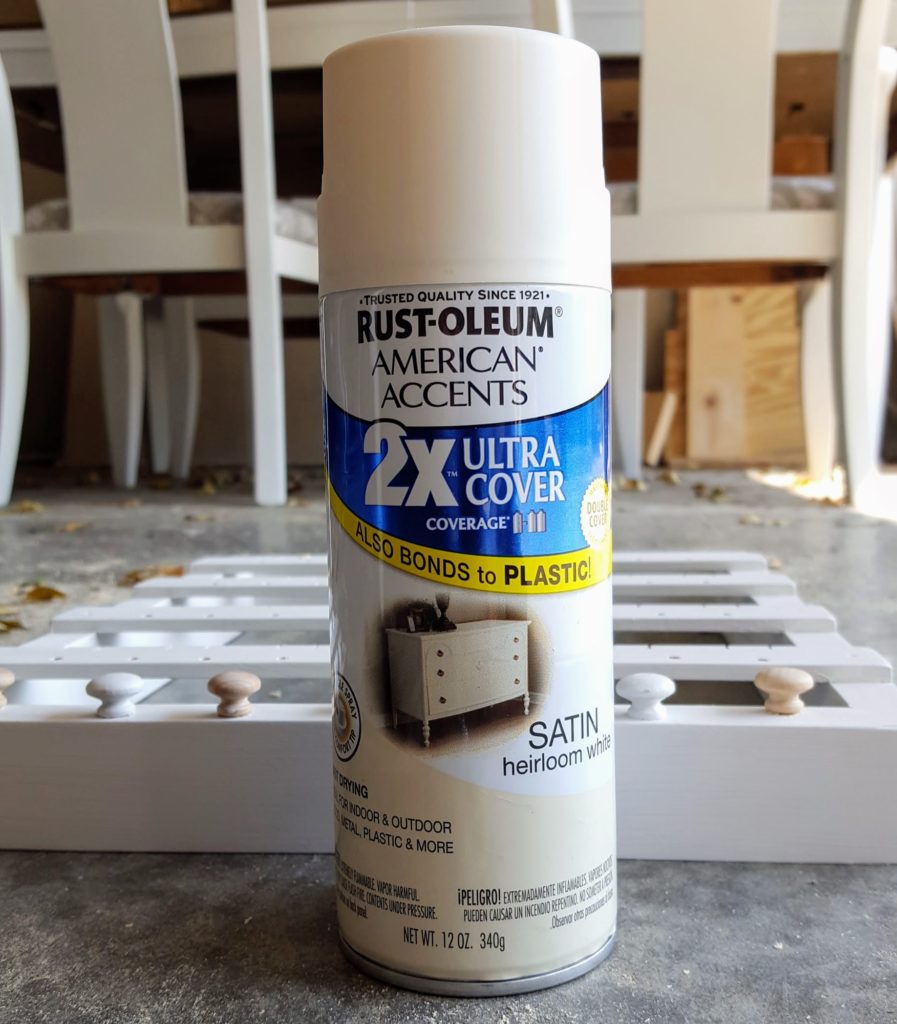

And how about that color?!? Rich and heirloom-y … Just perfect!
Rustoleum didn’t even tell me to say that … which you probably could guess since I just used the word heirloom-y. Anyhoo …
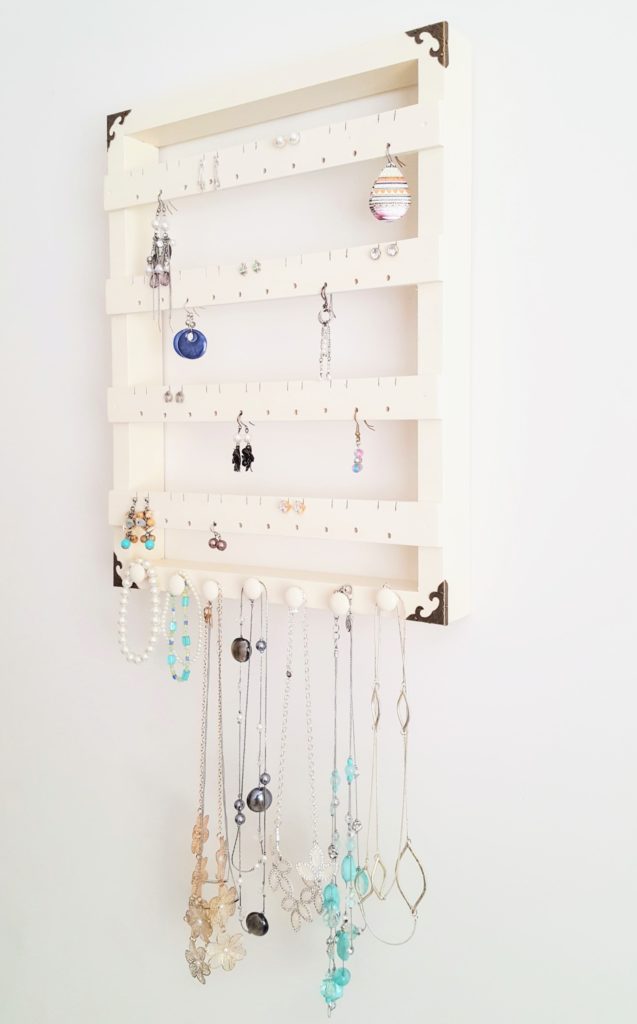
As a final touch, I added brass corner plates.


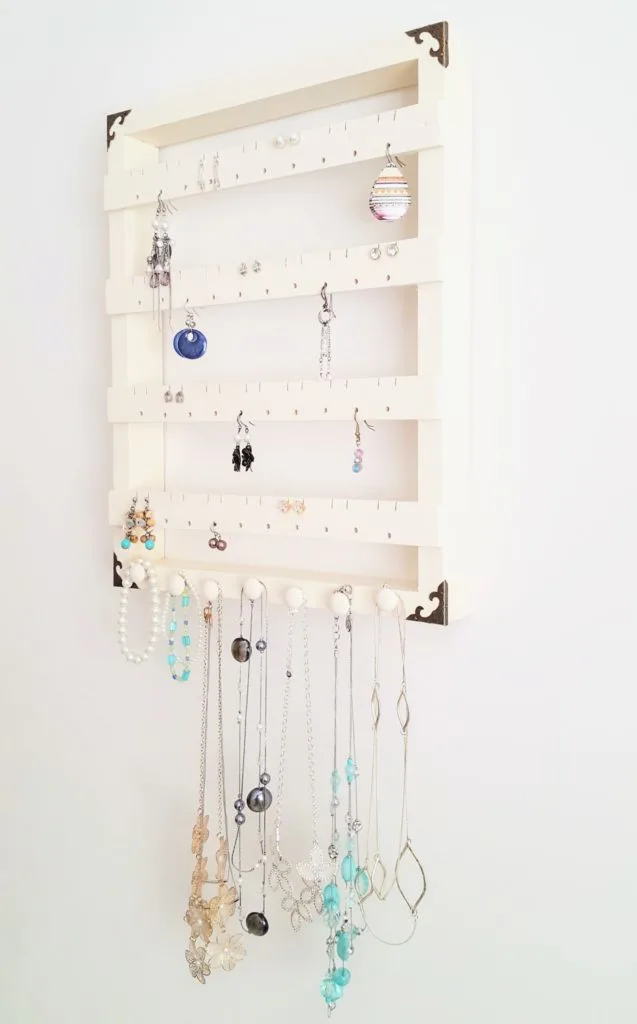
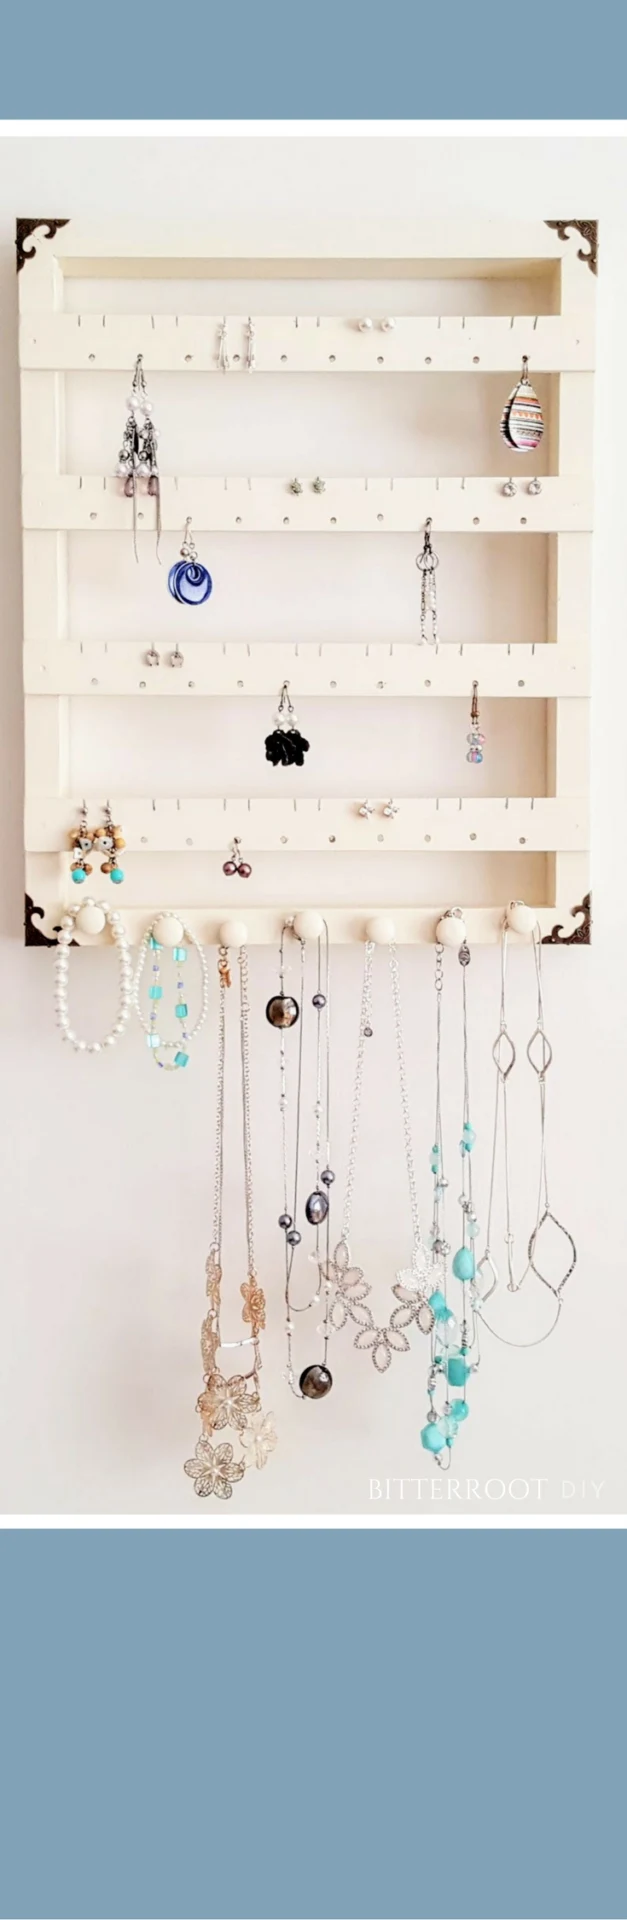
And last but not least, organize ALL THE JEWELRY!!!
As always, please leave any questions or comments and I’ll get back to you as soon as possible. And if you make your own jewelry organizer, I’d love to see it!
![]()
![]()


Michelle
Monday 22nd of February 2021
What did you use to hang it on the wall?
tylynn_sattler
Monday 15th of March 2021
Command strips or you could put a sawtooth picture hanger on the back and use nails.
Steph
Tuesday 26th of May 2020
Hi - wondering how could I make the earring slats with a limited tool supply? What is the thickness of the earring slat wood? Can I find something like that at a Home Depot or craft store? Can I use any hand saw to make the slat cuts? Thanks in advance for your suggestions!
tylynn_sattler
Thursday 28th of May 2020
The slats are 1/4" thick - I used lattice trim from Home Depot, which you can find in the trim aisle. I used a hand saw to cut the slits for earrings. Good luck!