Hey all, thanks for stopping by Bitterroot DIY!
For more project ideas, you can find me on Pinterest. And to stay up to date with the latest shenanigans, follow me on Instagram.
I have to be honest here: When I first made the lid for my blanket chest, I messed up the dimensions and it ended up a little small. But it was already finished and perfect and wonderful before I discovered the mistake … oops …
So I attached it to the chest anyways and just moved on with my life …
Until this week.
The time has finally come for a new lid. Have I made the new lid yet? Of course not. I’m not that on top of things.
BUT. I did turn the old lid into something new!
Something old, something new, something borrowed, something blue … all the best stories start out like this.
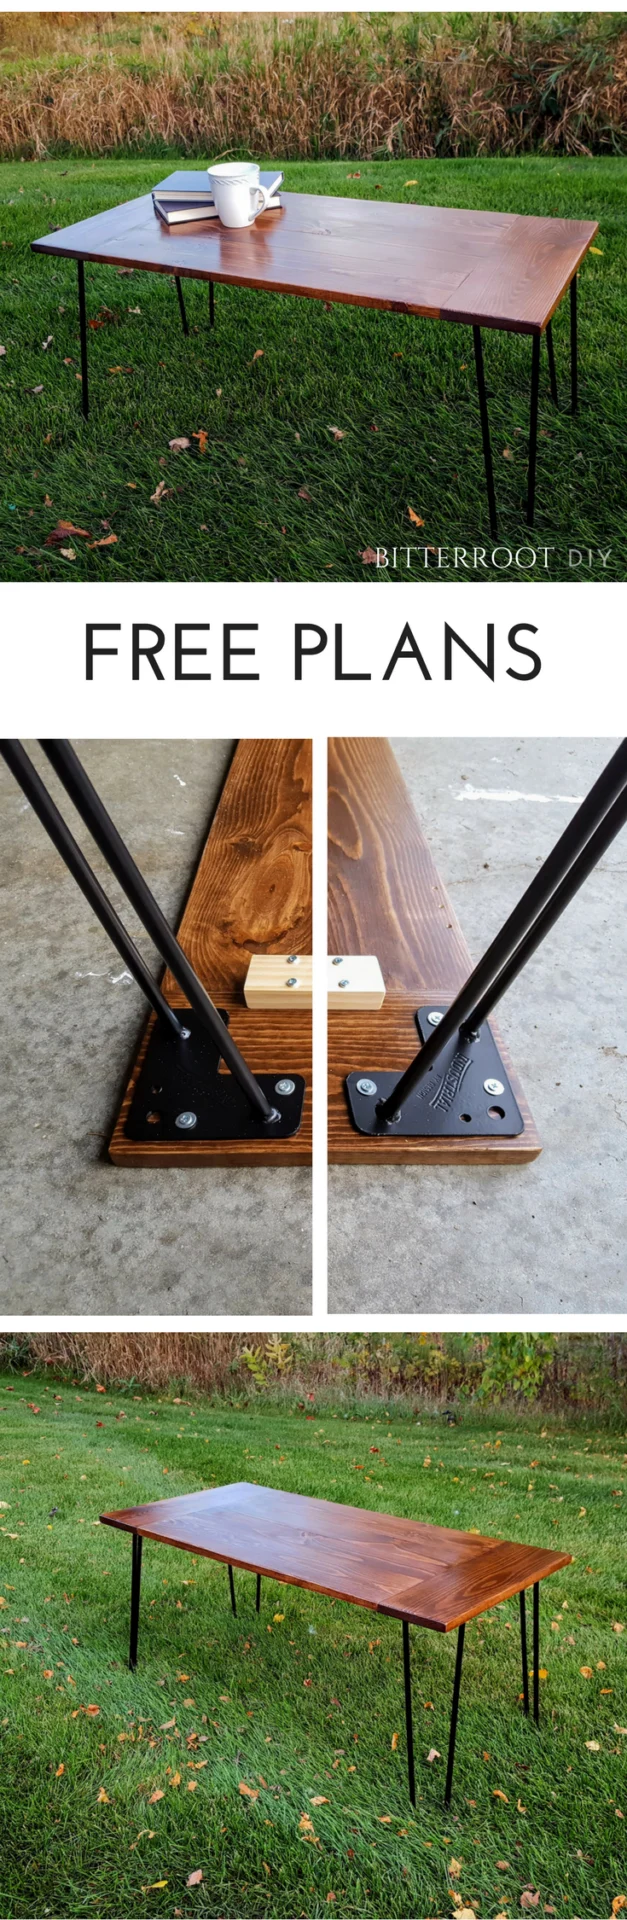
What is the something new? A super simple rustic industrial coffee table!


Seriously a 30 minute project. And even quicker if you have an old lid or table top sitting around 😉
Enjoy the free plans below!
This post contains affiliate links. See my full disclosure here.
Tools & Supplies:
- Hairpin Legs
- Miter Saw
- Drill
- Kreg Pocket Hole Jig
- 1-1/4″ Pocket Hole Screws
- Tape Measure
- Square
- Clamps
- Wood Glue
- Pencil
- Safety Glasses
- Ear Protection
Lumber:
- 1 | 1 x 6 – 8′
- 1 | 1 x 4 – 6′
Cuts:
- 2 | 1 x 4 @ 26″
- 2 | 1 x 6 @ 26″
- 2 | 1 x 6 @ 18″
Step 1.
Build the top of the coffee table.
Attach the boards as shown below with wood glue and 1-1/4″ pocket holes and screws. Place pocket holes on the bottom side of the tabletop to best hide them.


For more detailed instructions, see How to Build a Tabletop.
*Tip: After I ordered the set of Hairpin Legs, I received an email with certain recommendations for installation. So, per the recommendations, I also added “cleats” on the underside of the tabletop. See the full list of recommendations below.
Step 2.
Sand the table top and finish as desired. I used two coats Minwax ‘Special Walnut’ stain and then sealed the table top with three coats of Minwax Clear Gloss Polycrylic.
Step 3.
Attach the hairpin legs to your tabletop. I found these hairpin legs on Amazon and absolutely love them!

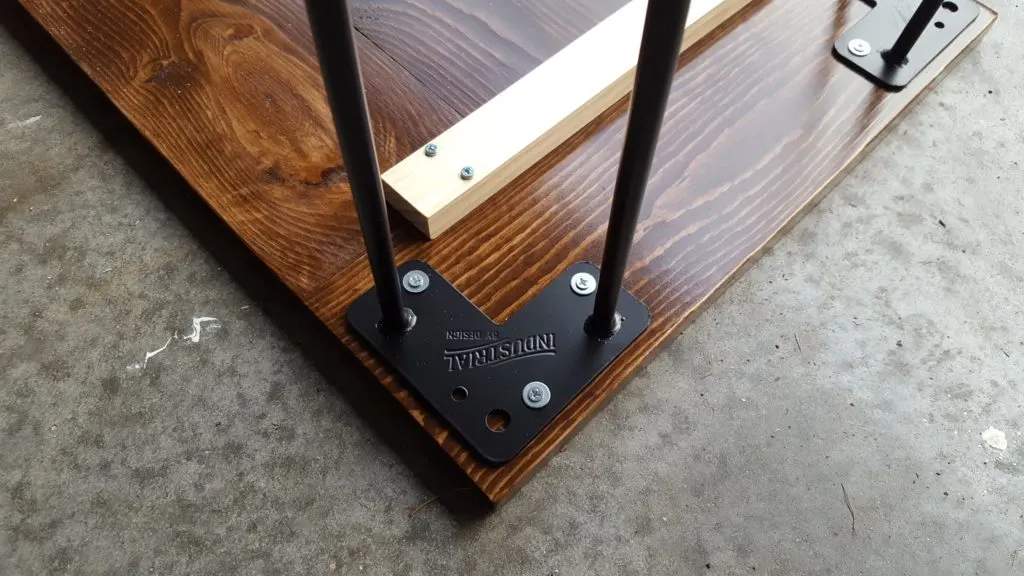
The manufacturer, Industrial By Design, also sent a helpful email detailing their recommendations for installation. From their email:
- Attaching the legs: When you pre-drill your holes for attaching the legs, it’s a best practice to measure from the tip of your drill bit how deep of a hole you want to drill, and then wrap a piece of masking tape around the bit. This will help prevent you from drillling a hole all the way through your tabletop!
- Screw size: I recommend a #10 screw, and the reason you won’t find them included is that everybody’s tabletop width is different! Select the perfect length of screw for your project, and pick up some 1/4 inch washers for added strength.
- Tabletop strength: Most traditional tabletops are supported by a skirt that runs underneath the top near the perimeter of the table. Hairpin leg tables tend to not have these skirts because the legs screw into the top rather than a skirt. Without the support of a skirt, I recommend attaching “cleats” on the underside of your table, perpendicular to your table top boards. These cleats are typically around 2″ wide and about 3/4″ thick.


It’s so nice to support a small business that really cares about what they do! I highly recommend checking out their shop. It’s full of all sorts of goodies!
After you attach the hairpin legs, you’re ready to start enjoying your new coffee table!


As always, please leave any questions and/or comments and I’ll get back to you as soon as possible.
![]()
![]()


![]()
![]()