
Learn how to install carpet with the easiest method out there.
This post may contain affiliate links. If you make a purchase from one of the links, I may make a small commission at NO EXTRA COST to you. This helps keep the tutorials and plans free here at Bitterroot DIY. Thank you for your support! See my full disclosure here.
Did you know you can buy carpet with the pad already attached? I KNOW! Total game changer. I didn’t even know such a thing existed until I started looking into how to re-do the carpet in Weston’s room. My mother-in-law mentioned that she had done it in a couple rooms before, and I’m so glad I tried it out.
A word of advice – it is not as “cushiony” as the traditional carpet-and-pad system, and I probably wouldn’t use it in a super high traffic area. However, we have it in both our kid’s rooms, and I have absolutely no complaints! Though it’s not as squishy as a carpet pad, it’s plenty soft for the kiddos to roll around on – it feels about like a rug over hardwood floors. And there are no issues with it pulling up on the edges. We’ve had it in Ava’s room since we moved in and just installed it in Weston’s room a few months ago. Both are still in perfect condition!
And the best part? It’s seriously SO EASY to install. No carpet stretcher necessary. Just grab a roll of attached-pad carpet, a utility knife, and some adhesive, and you’re ready to rock ‘n roll.
Tools & Supplies
- Utility Knife
- Pry Bar
- Straight Edge (I used a long level)
- Sharpie for marking edges
- Carpet Tape (or carpet adhesive)
- Attached Pad Carpet (available at Home Depot or other home improvement stores)
Step 1.
If you do NOT have to remove old carpet first, continue to Step 3.
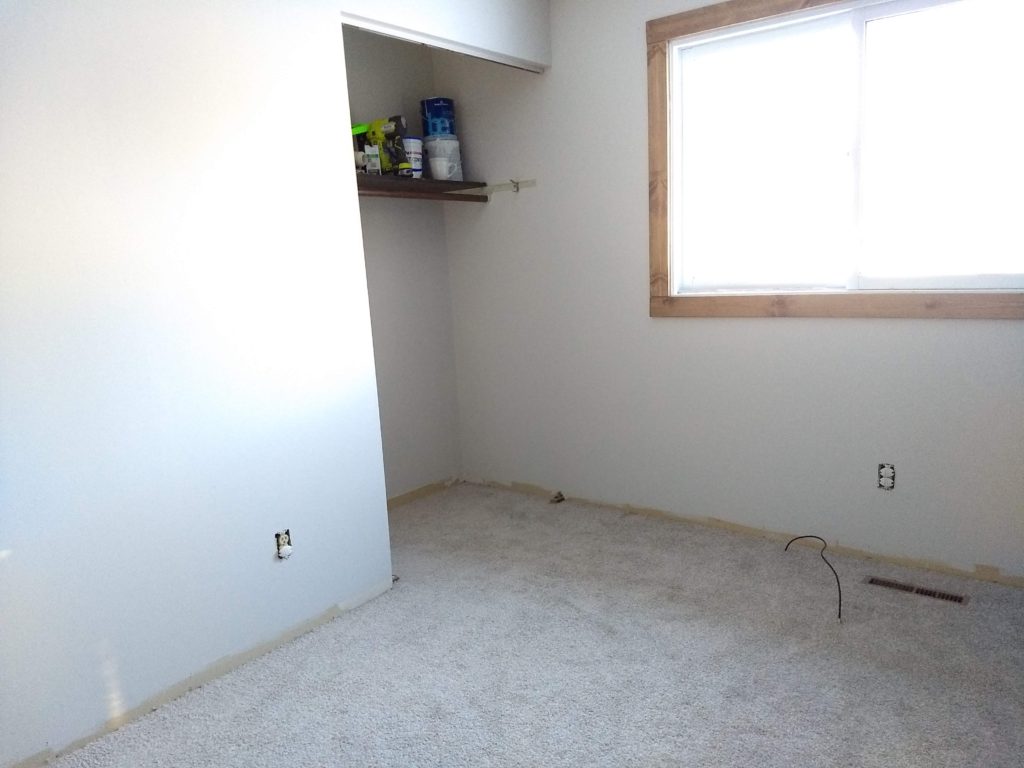
I started by removing the old carpet from the room. Remember when I showed all the lovely “before” photos from this room? Yeah. That pea green carpet had to go.
Old carpet holds quite a bit of dust, so you may want to use a mask.
Normally, carpet is stretched out over the pad and then hooked onto tack strips. Start in the corner, get a good grip on the carpet, and pull it off the tacks (pliers work well). Continue all the way around the room until the whole carpet is free. Then roll it up and haul it out. If necessary, cut the carpet into manageable strips to roll up. Carpet cuts best from the back, so simply fold the carpet over and cut it with a sharp utility knife.
The carpet in Weston’s room transitioned to carpet in the hallway at the door way. The two carpets were joined together with transition tape, so I just cut the tape along the seam of the bedroom carpet. You may run into metal transitions. You can cut the carpet and leave the transition in place.
The carpet pad is underneath the carpet. On wood sub-floors, it’s typically stapled down in a million random spots. Just pull the pad up off the staples, roll it up, and haul it out. Again, cut the pad into strips if necessary.
If the sub-floor is concrete, the pad will be glued down. Pull it up off the glue and then use a floor scraper to scrape off any leftover pieces.

Step 2.
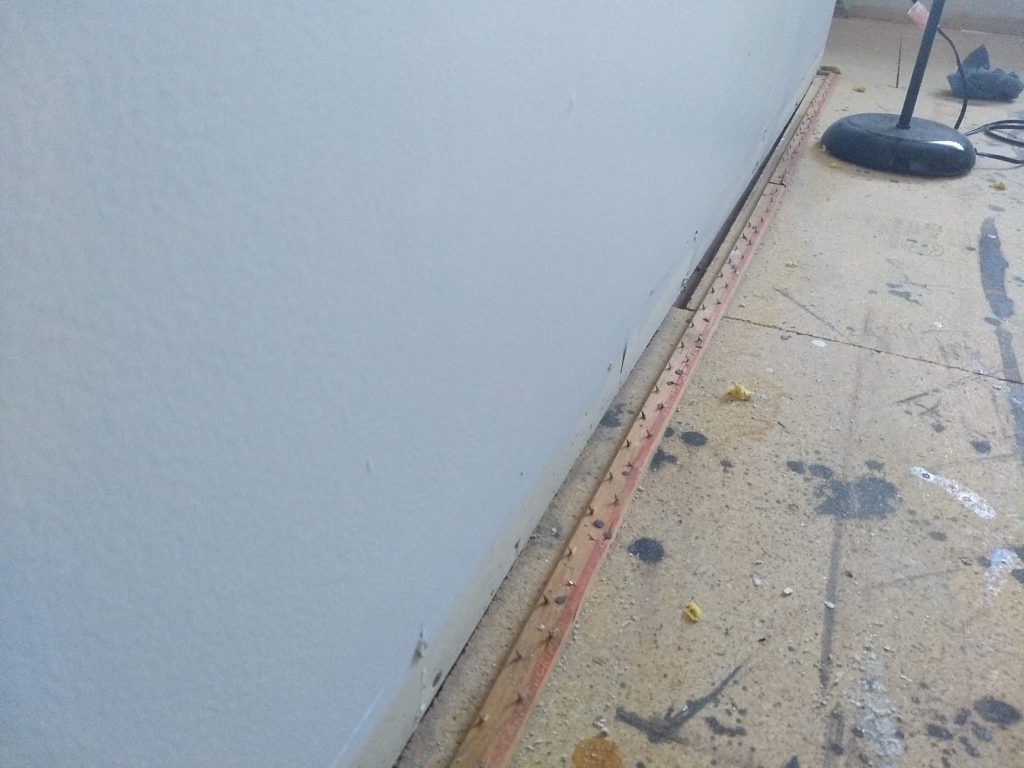
Once the carpet and pad are out, time to clean up the floor. Use a small pry bar to remove the tack strips.


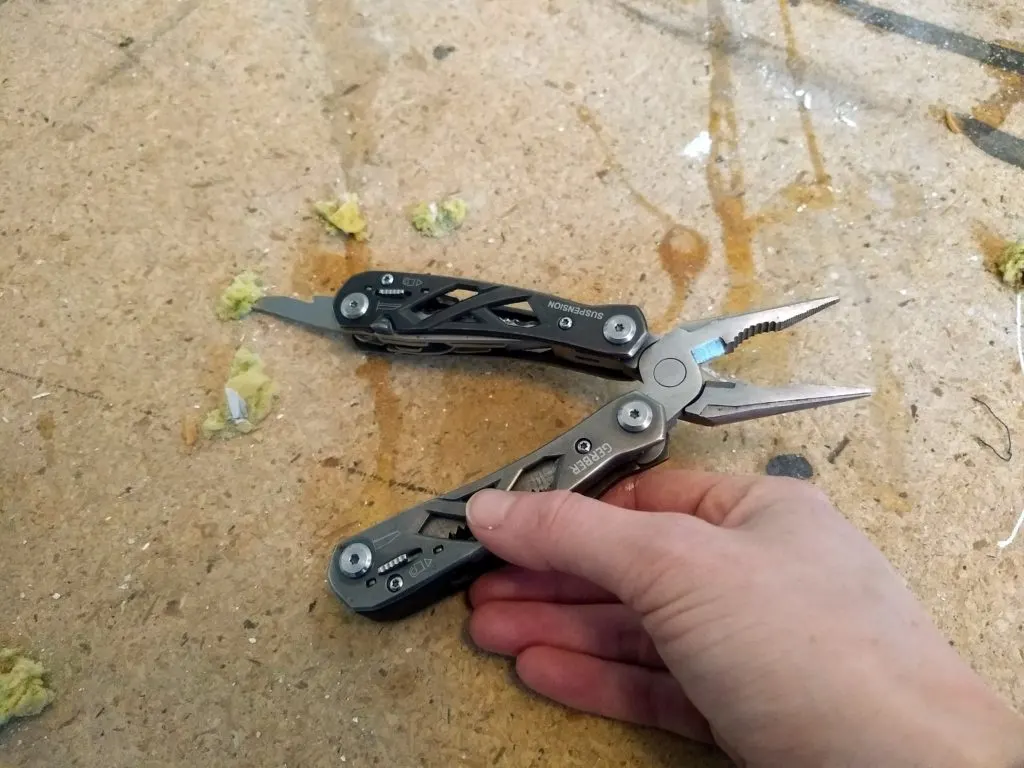
Next, remove all the staples from the floor. I used the flat screwdriver tool on my leatherman to pry the staples up and then pulled them with the pliers.

Depending on the size of the room, you may want to use a floor scraper. The sharp blade will easily tear out (or at least shear off) most of the staples.
Lastly, sweep the floor really well so you have a clean surface to lay the new carpet.
Step 3.
Install the new carpet.
I used this carpet tape from Menards:
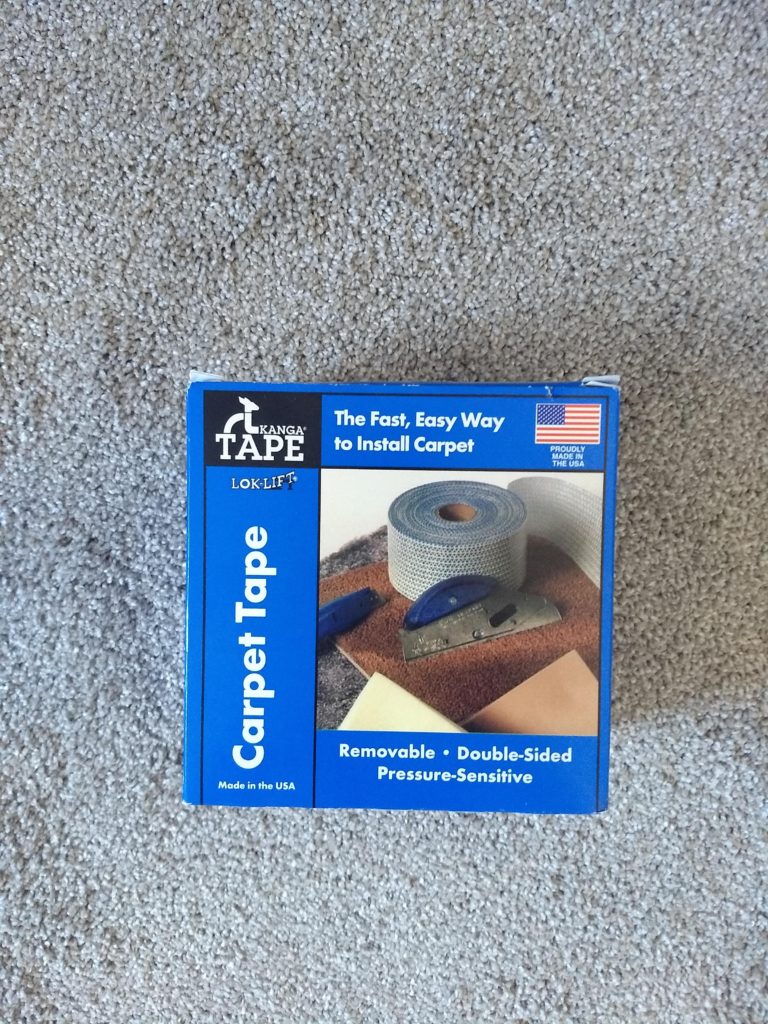

Honestly, I wasn’t super happy with it. It didn’t adhere very well and kept sliding around on the carpet edges before I could get them stuck down. It was kinda difficult to work with, but I decided to go with it. I re-did all the baseboard trim also and made sure to really push it down well, which helped hold the edges. I haven’t had any issues with the carpet moving, so the combination of the tape and new trim ended up working just fine.
If you want to try tape, the reviews on this tape from Amazon are much better. I’d recommend giving it a try. Or you can use a glue-like carpet adhesive (available wherever you buy the carpet). The carpet in Ava’s room is attached with glue. Weston’s is attached with tape. I haven’t had any issues with either, but there are pros and cons to each. Good tape is much easier and cleaner to work with than glue adhesive. It’s also much easier to remove next time you want to re-do the flooring (which could be a pro or con). What it really comes down to is personal preference. If I had to do it again, I’d use tape to avoid the mess of glue.


Center the new carpet in the room. Rooms are usually not perfectly square, so situate the the carpet with about 2″ excess on the edges. Start in the center and adhere it to the floor according to the instructions on the carpet tape or adhesive.


Step 4.
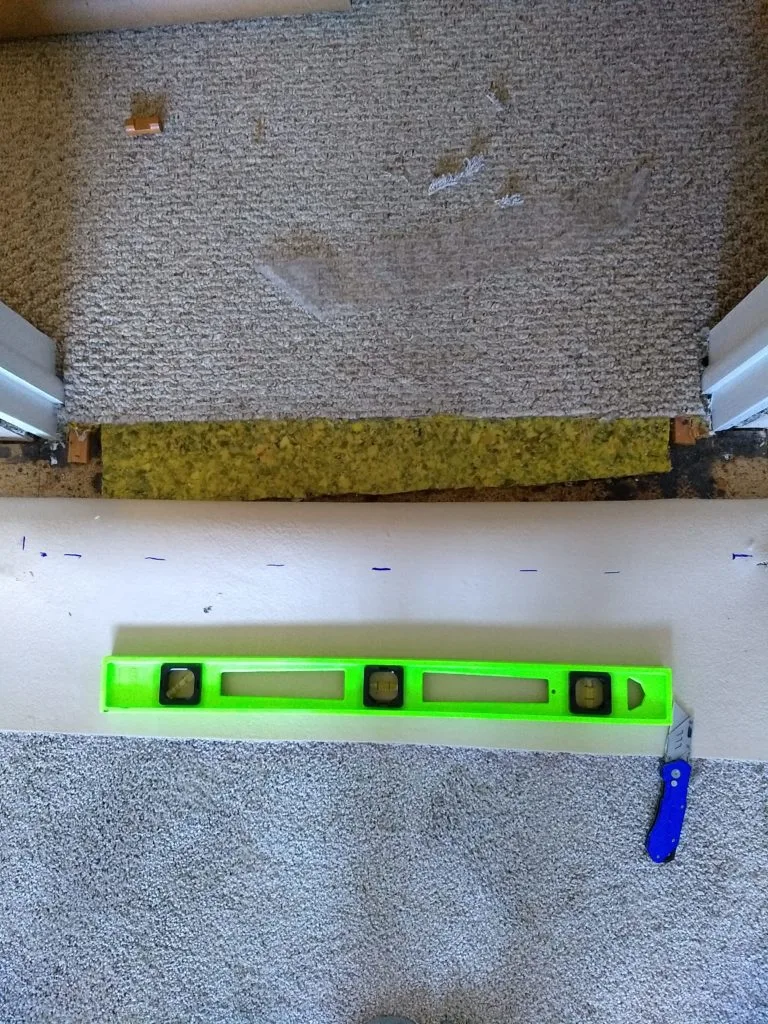
After adhering the center (so it won’t move), cut the edges down to fit. As I said earlier, carpet cuts best from the back. So press the carpet edge against the wall and mark where they meet with a sharpie or good pen along the back of the carpet. With the carpet folded over, use a solid straight edge to guide the utility knife along your mark.

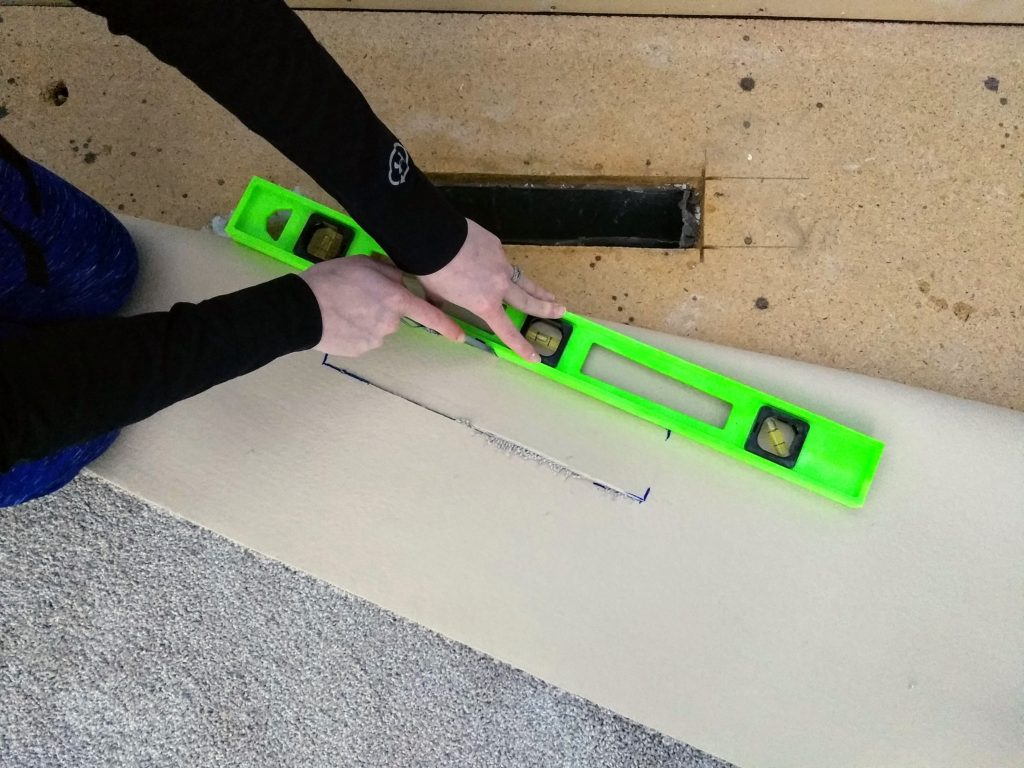
In the above photo, I was working along the transition from the bedroom to the hallway. However, the process is the same – press the carpet into place, mark it, and cut from the back.
It’s a little difficult to figure out exactly where to mark at first since the carpet is folded back, but it gets easier as you go. Err on the side of caution for the first few cuts until you get the hang of things. You can always trim more if necessary.
Repeat the same process along each edge of the room.


As you work your way around the room, mark and cut any gaps necessary for vents.


Step 5.
Once the carpet is all cut to size, tape (or glue) all the edges in place.

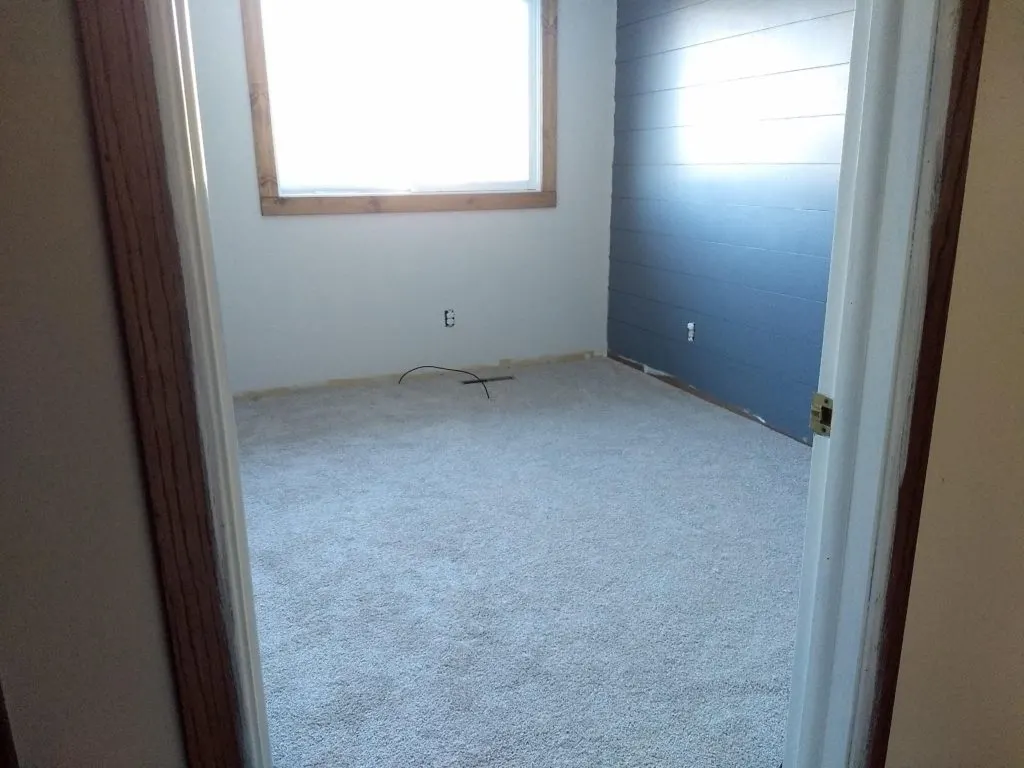
Aaand you’re done!
Isn’t that unbelievable!?

It only took me a couple hours to install all the carpet in this room.


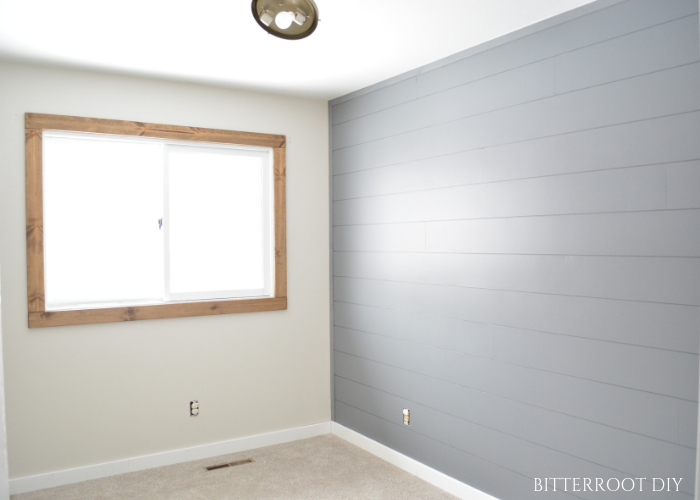
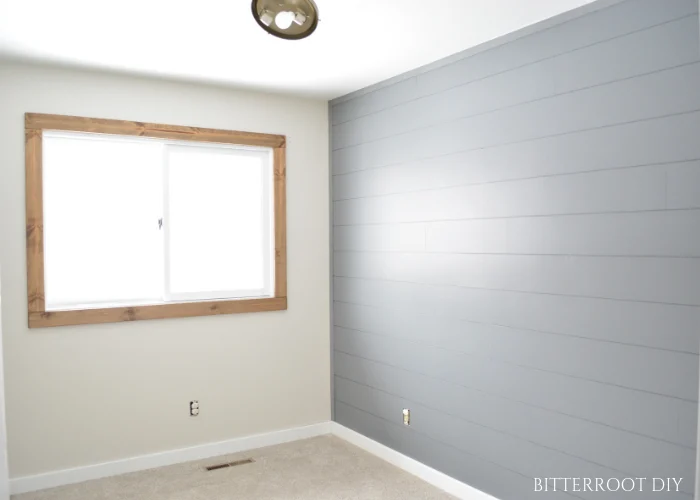
It’s looks just like normal carpet, hasn’t moved around at all, and vacuums up easily. If you have a bedroom to redo, I definitely recommend giving it a shot!
Please let me know if you have any questions and I’ll get back to you as soon as possible.
| Tylynn |
Thanks for stopping by!
For more project ideas, you can find me on Pinterest. And to stay up to date with the latest shenanigans, follow me on Instagram.


Jody Hunter
Saturday 8th of May 2021
I love the results! The carpet really enhances the beauty of your room. The environment is inviting and pleasing to the eyes.
Bryson Owens
Wednesday 29th of January 2020
I really like that you talked about always wearing a mask when you get rid of the old carpet because of the dust. It makes sense that a really old carpet in the house would have a lot of dirt and dust in the fibers. My wife and I are renovating our home this spring, so getting a new carpet is a must.
tylynn_sattler
Friday 31st of January 2020
Yep, definitely grab some masks when you remove the old stuff! I can't believe how much dust gets stuck in there forever!