Hey all, thanks for stopping by Bitterroot DIY!
For more project ideas, you can find me on Pinterest. And to stay up to date with the latest shenanigans, follow me on Instagram.
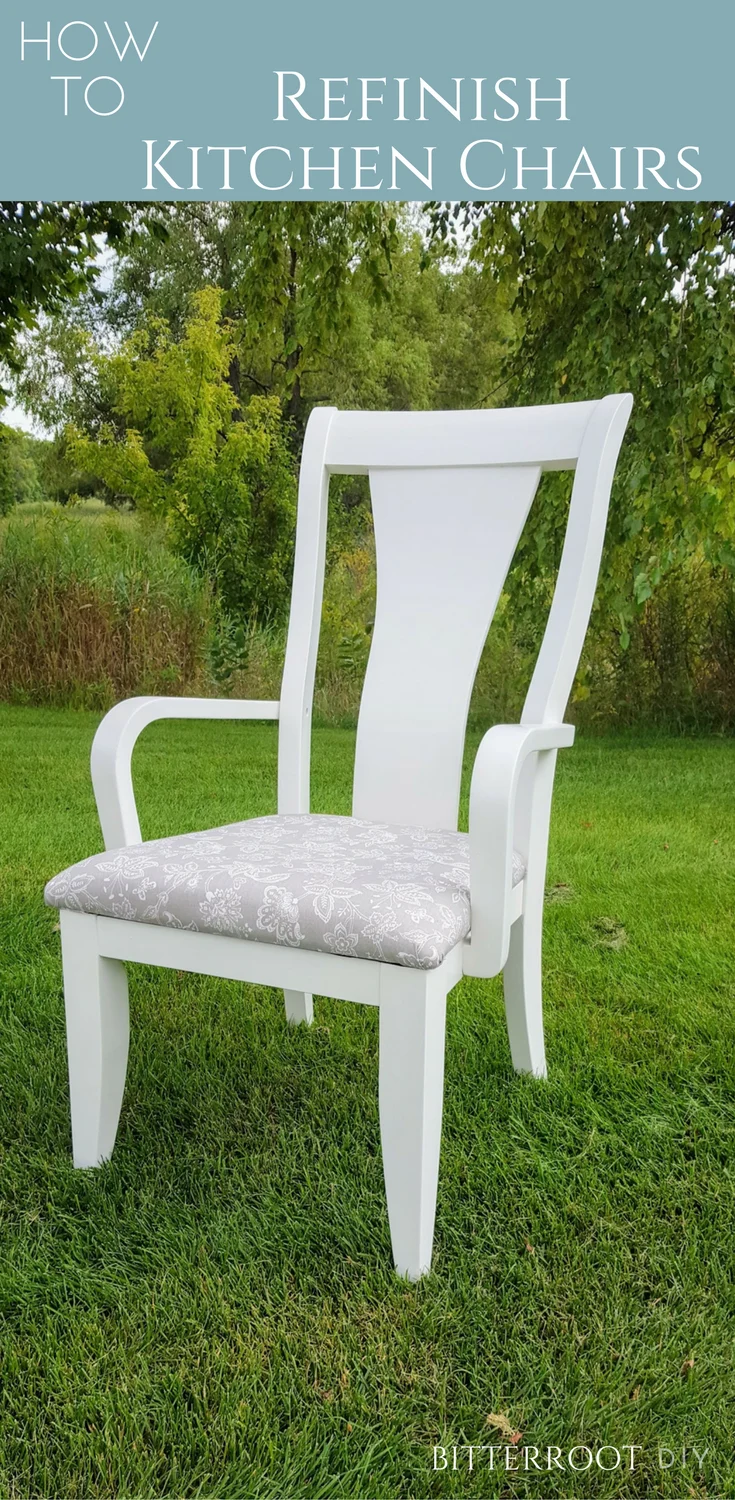
Looking to give your dining room set a little face-lift? Look no further, friends!
I found this old dining room set on Craigslist and thought it’d be fun to try my hand at a flip job … it was definitely more work than I anticipated … as per usual 😉 but I’m stoked about the final result!
This is one of a three-part post for the whole dining room set flip. Head over and check out how to reupholster the chairs and refinish the table while you’re browsing!
This post contains affiliate links. See my full disclosure here.
Tools & Supplies:
- Liquid Sander/Deglosser (this is what I used)
- Scotch Brite Scouring Pads
- Lint-Free Cloth
- Primer
- Paint
- Paintbrush
Step 1.
Since the dining room chairs I worked with were upholstered, I started by removing the seats.
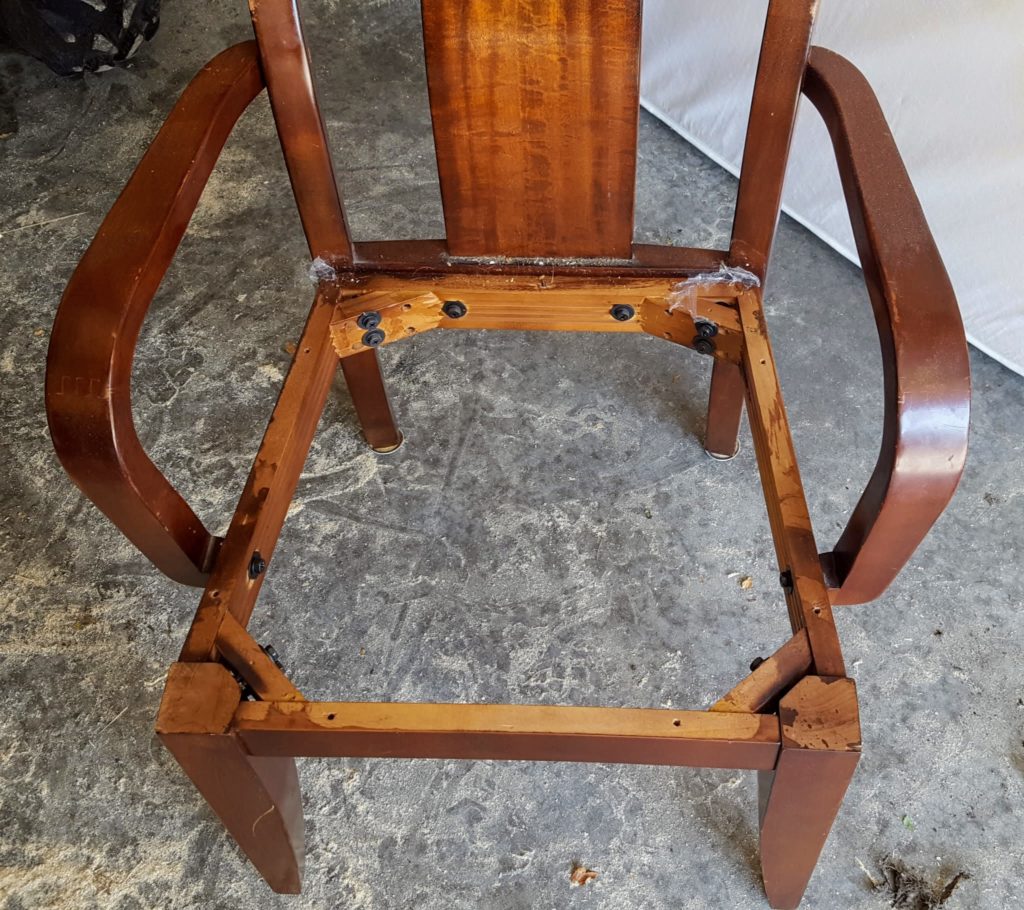

Next, thoroughly clean the chairs with soap and water.
Make sure to get rid of all that random gooey grossness that somehow always ends up all over dining chairs – where does that stuff even come from :/
Step 2.
I’m so excited to share this step – Have you guys ever used Liquid Sander?!?
Life. Saver.
In order to ensure a new finish adheres well, you have to scuff-up the old finish. Usually this means hours of sanding. In the interest of saving time and my sanity, I decided to try something new on these chairs – the aforementioned Liquid Sander.
Game Changer.
Simply apply the liquid sander with a scouring pad, and let it go to work. The instructions on the bottle say to use a lint-free cloth for application. However, I had some scouring pads on hand from stripping the table, so I gave them a try and found that they removed the glossy finish much more efficiently.
Both the cloth and the scouring pads will get the job done. It really comes down to personal preference or what you have on hand!
I applied 2 coats to each chair to make sure the original finish was thoroughly scuffed.
And that’s it – ready to prime and paint!
Ahh! So cool 🙂
I hope someone else out there is as excited about this stuff as I am …
Step 3.
Prime the chairs.
There are many tutorials out there that skip the priming step. However, after much research and experimenting, I say that priming is 100% necessary. If you skip primer, the new finish won’t adhere as well and will start to peel after a short time. Additionally, primer makes sure you start painting over an even surface, which is especially important when going from a dark to light finish.
For these chairs, I used Kilz Spray Primer.

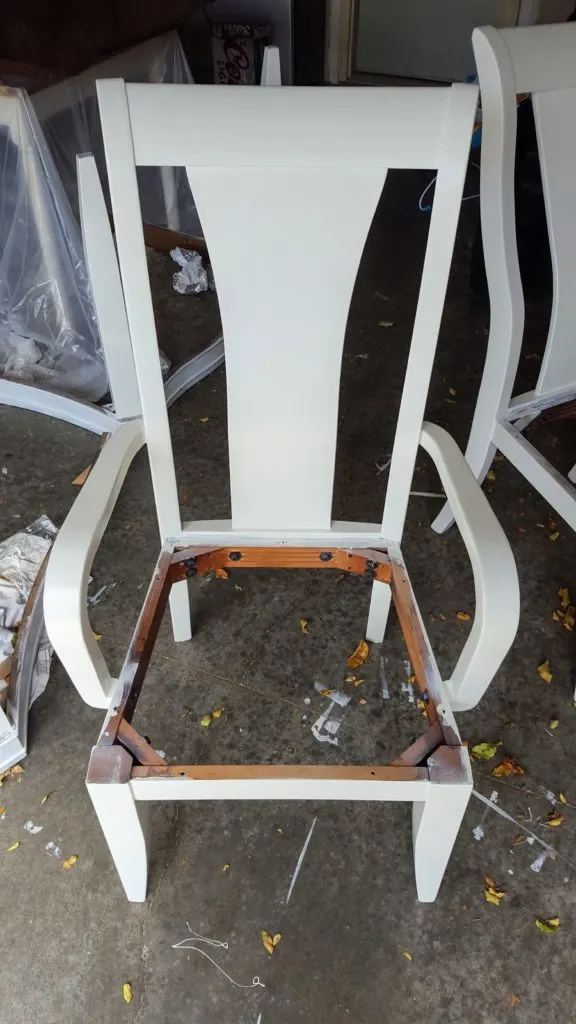
Step 4.
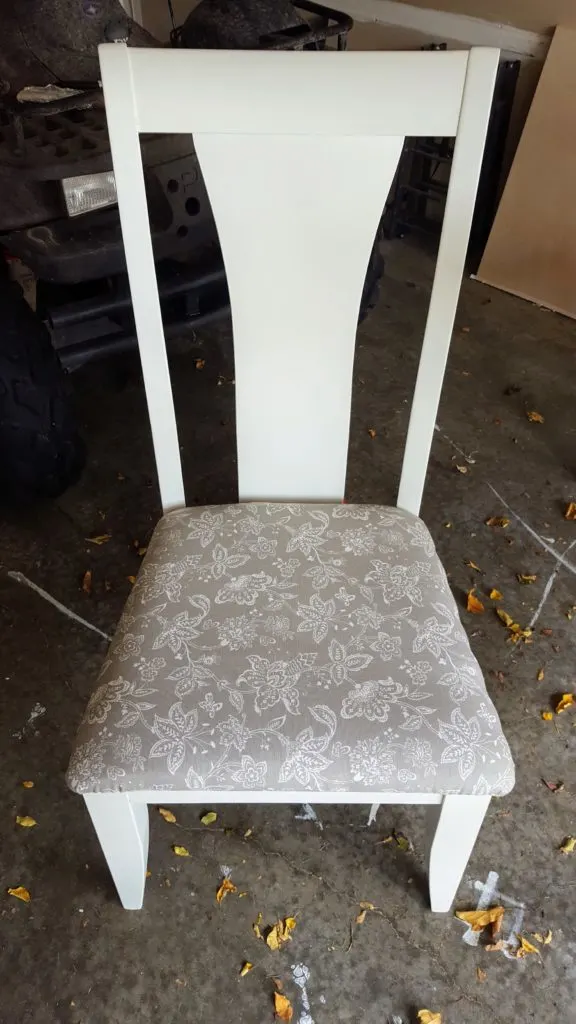
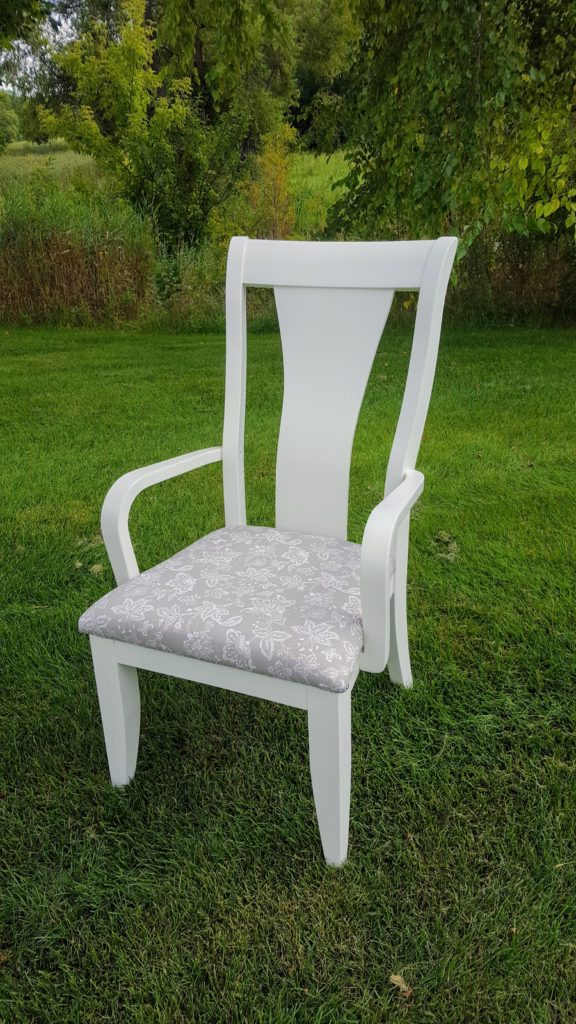
Paint with the color of your choice!
I used Glidden ‘Antique White’ for that lovely vintage rustic finish.
After many many MANY hours of painting these chairs by hand, I would recommend one tool purchase – a paint sprayer.
Worth every penny for the time it will save you.
No, it’s not necessary.
I completed this whole dining room set without a sprayer.
Anyone is perfectly able to paint by hand.
However, after multiple painting and refinishing projects, I can assure you that a paint sprayer is one of my most-beloved tools. It saves so many headaches and is definitely worth the investment.
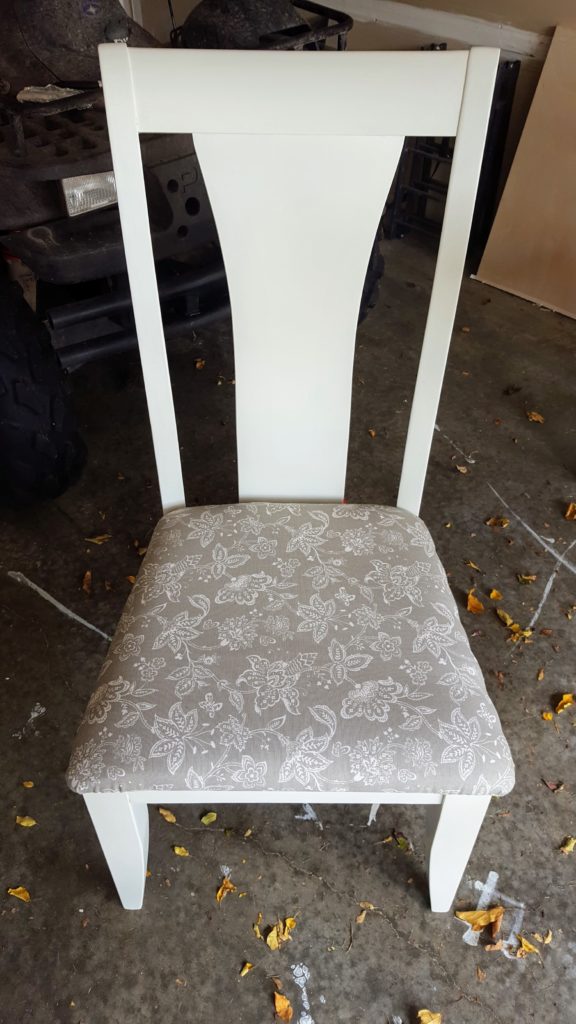
All that aside, after painting the chairs, I reupholstered the seats and they were good to go! Head over here for the how-to on re-upholstering. It was my favorite part of this whole dining set re-do 🙂

As always, if you have any questions, please leave a comment and I’ll get back to you as soon as possible!
![]()
![]()