
If you’re just joining, welcome to the Bitterroot Scrap Wood Series!
Head over to Day 1 to catch the beginning of the shenanigans, as well as our exciting news.
Long story short – I’ve been sharing a new scrap wood project every Monday, Wednesday, and Friday in May and am gonna continue through the first week of June until all 15 projects are out! This is Day 14!
These little shelves are great to add a little decoration in a kid’s room. I made three and used them for my son’s room in our previous house. Annnnnd … guess what …
They match perfectly with the bookshelf I made for him last summer! That’s the cool thing about DIY – you can make it all match!
Alrighty. To the good stuff!
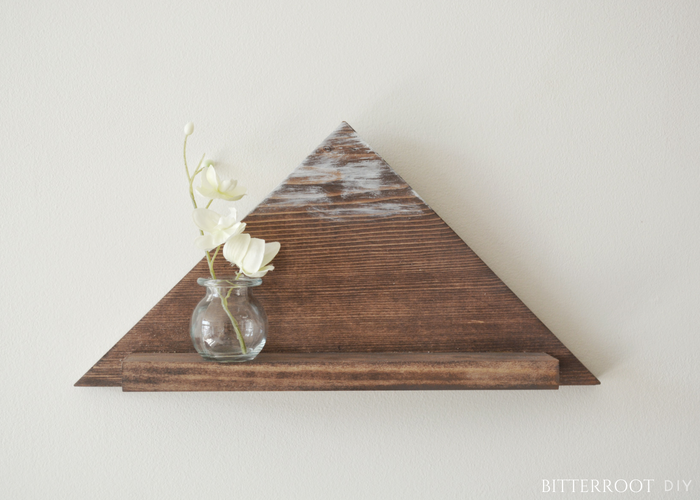
Grab a spare 1 x 10 and cut it off at 45 miters to each side to form the mountain piece.
Grab a spare 1 x 2 and cut it to 9″. Position the 1 x 2 about 1/4″ from the bottom of the mountain piece and mark the location. Pre-drill two holes – one on each side of where the shelf will be. Attach the shelf with wood glue and 1 1/4″ screws from the back.

Stain and finish as desired. I used Minwax Special Walnut stain, added some Rustoleum Glossy White to the mountain tops, and sealed with Acrylic spray.
Just a short and sweet project 🙂
These shelves aren’t very big, but you could adjust the size if you’re looking for something a little bigger.
Let me know if you have any questions and I’ll get back to you as soon as possible!
![]()
![]()

