
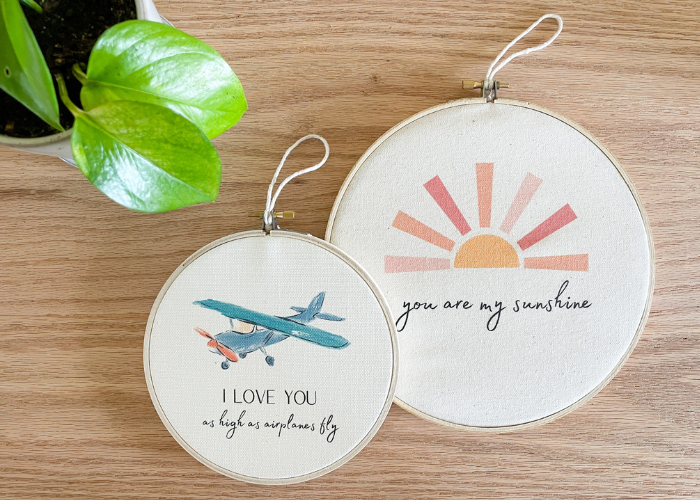
Make an adorable embroidery hoop for your nursery and/or kids room wall decor – no embroidery necessary!

This post contains affiliate links. If you make a purchase from one of the links, I may make a small commission at NO EXTRA COST to you. Thank you for your support! See my full disclosure here.
- Wood Embroidery Hoops
- Canvas Paper
- Cotton String
- Ink Jet Printer
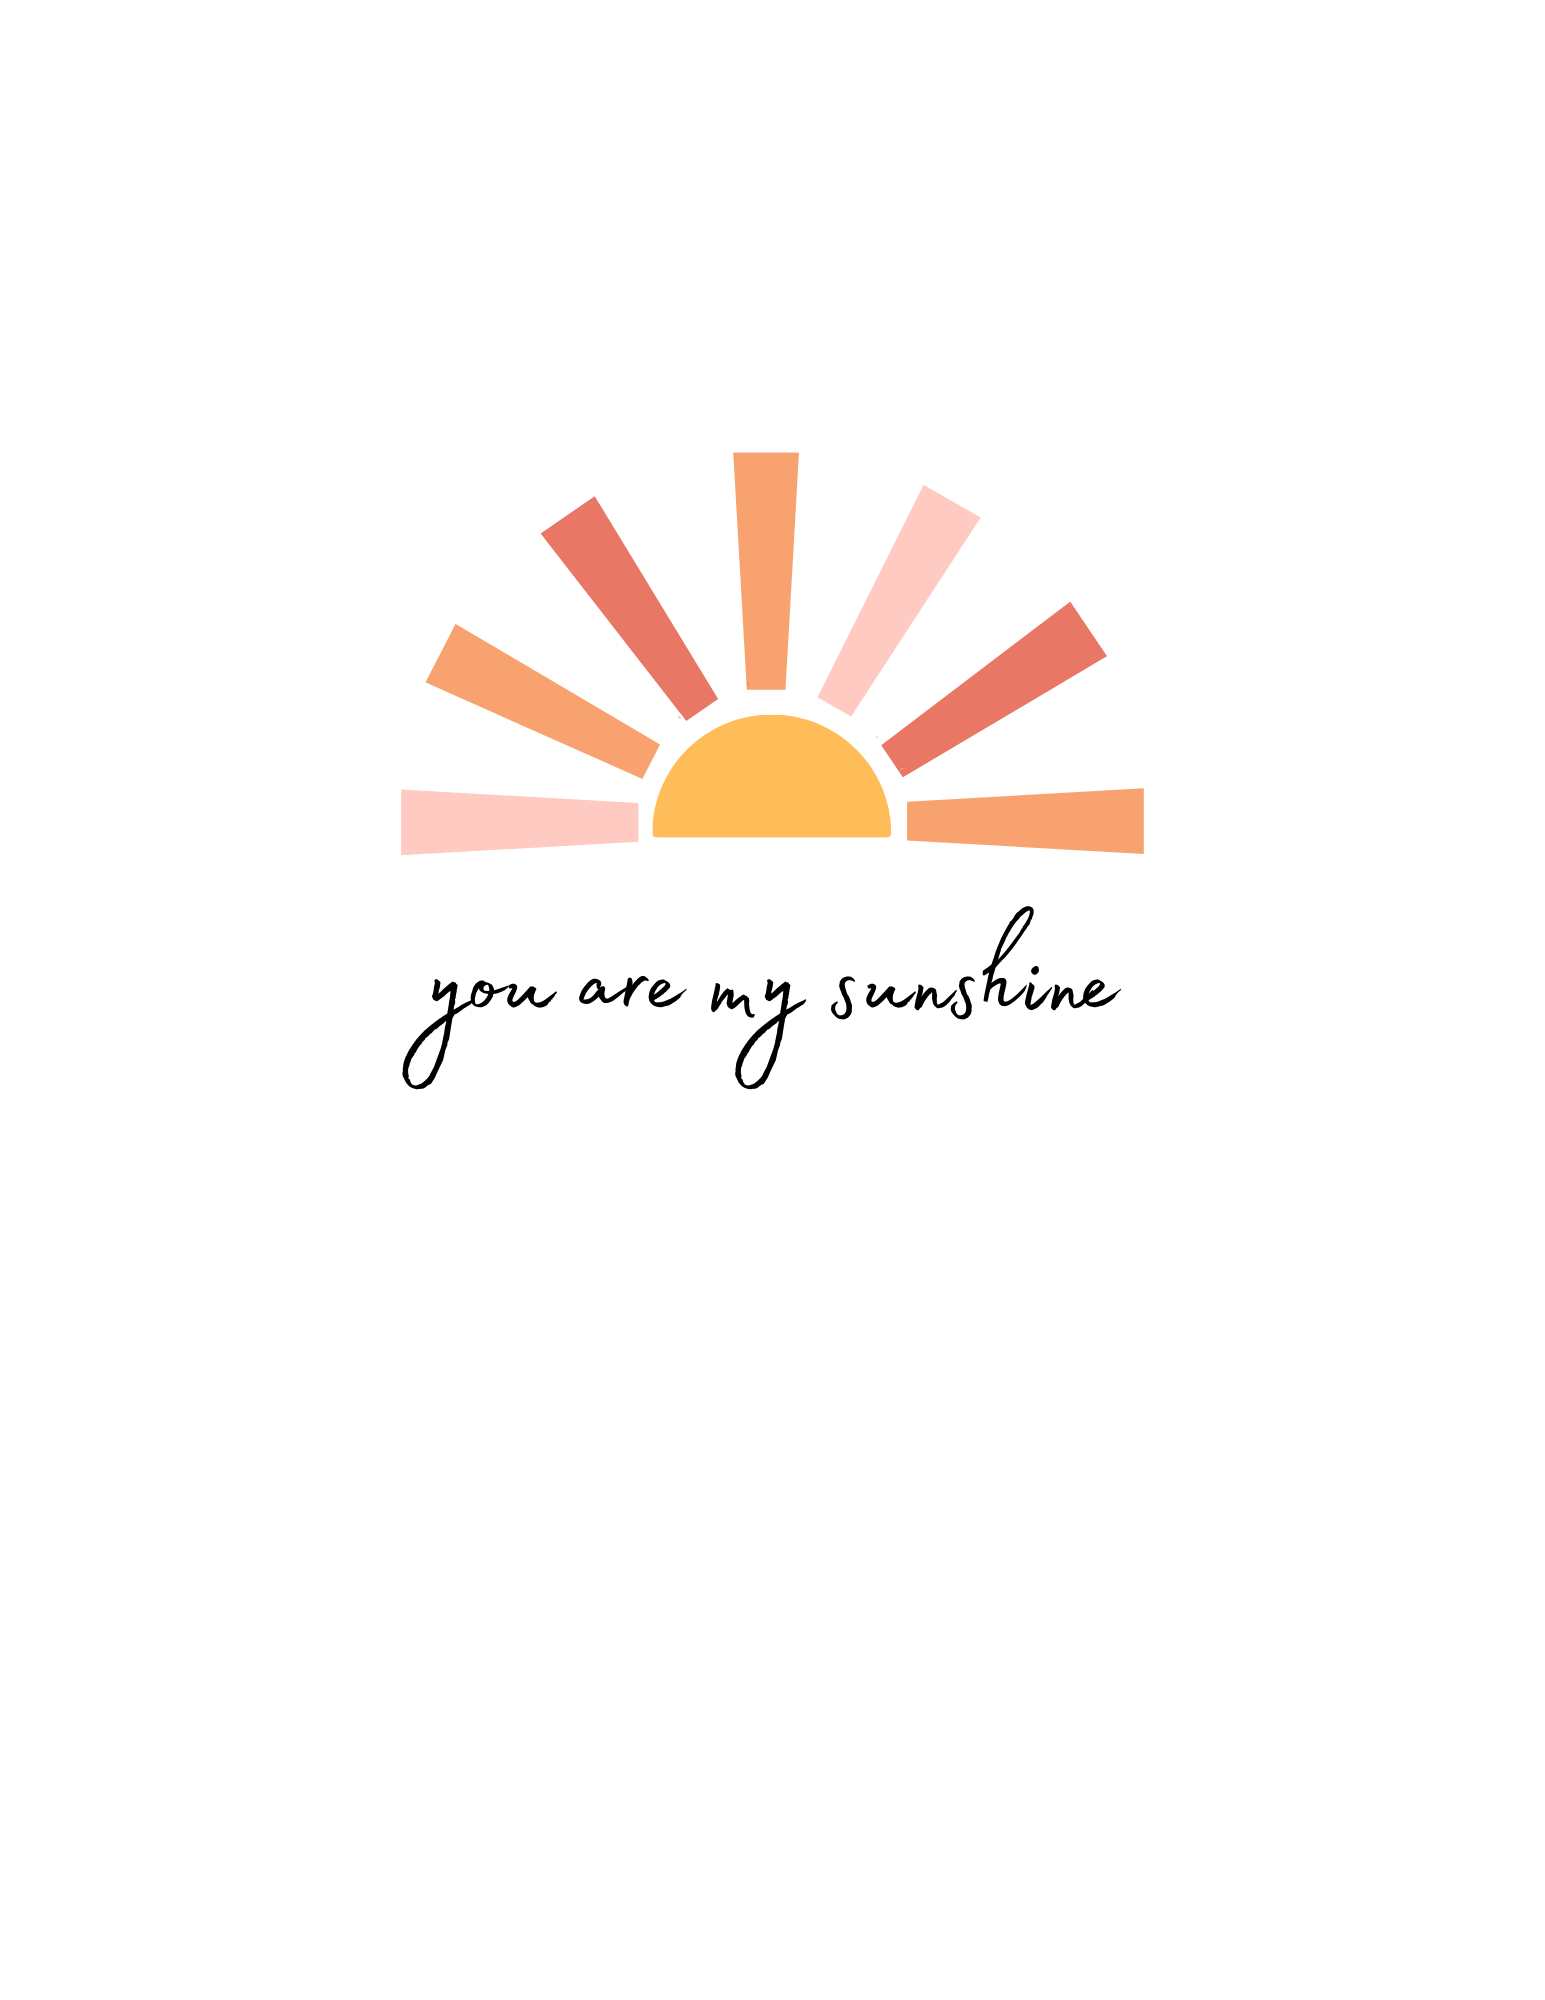
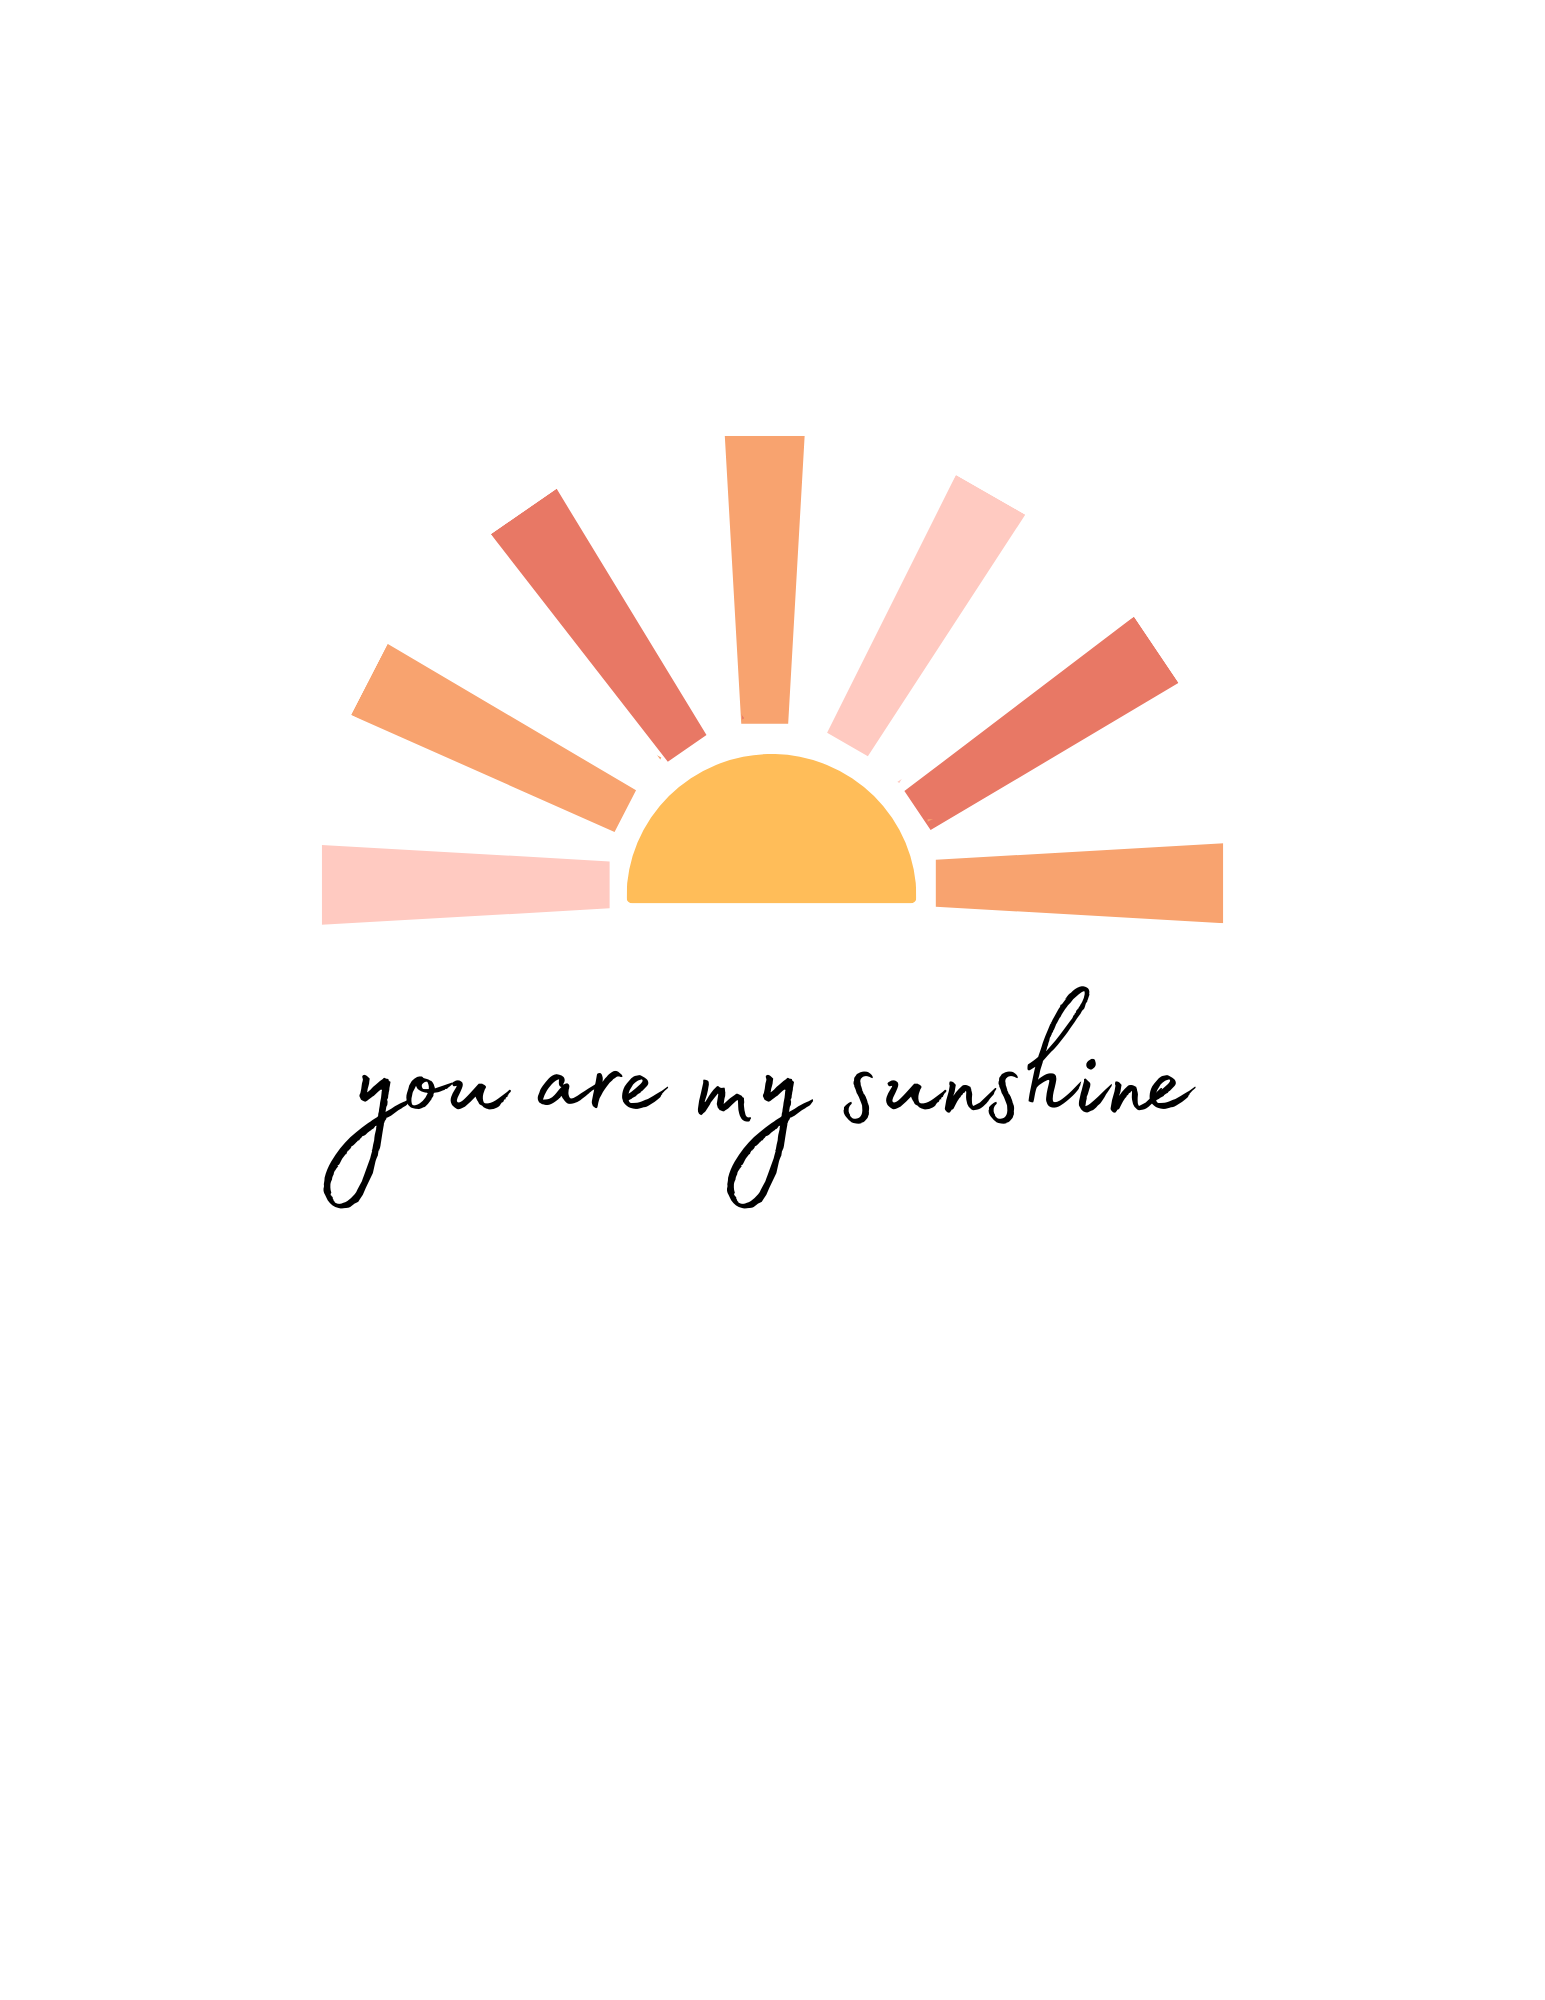
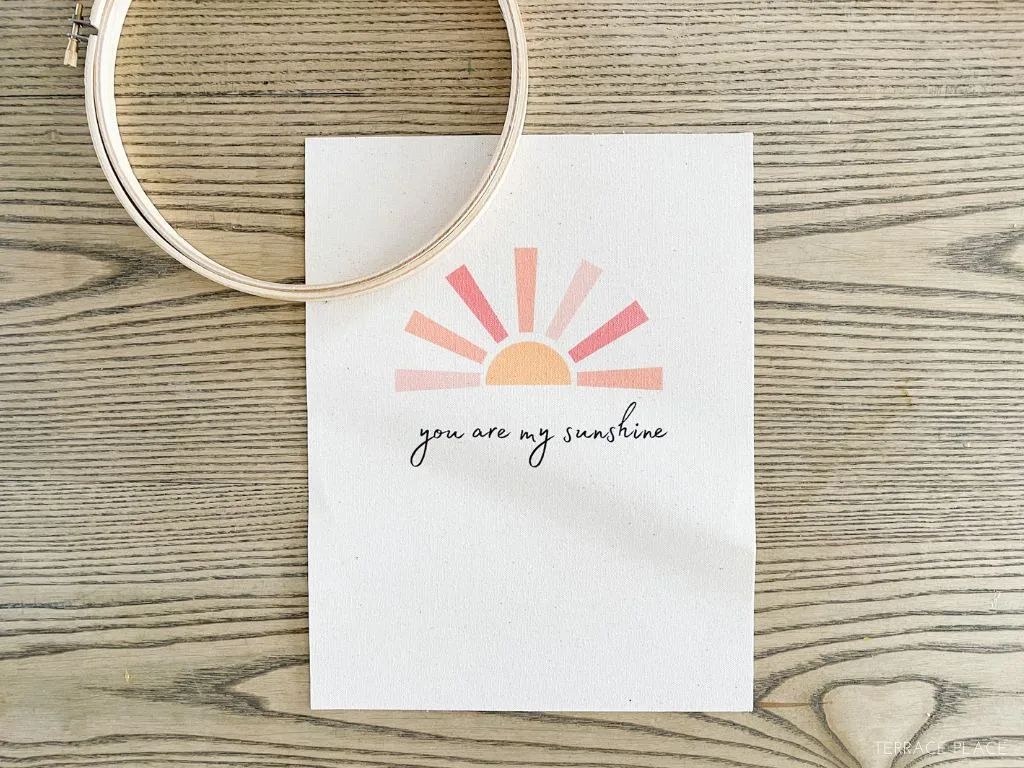
- Sunshine Graphic – 8″ Hoop or 6″ Hoop
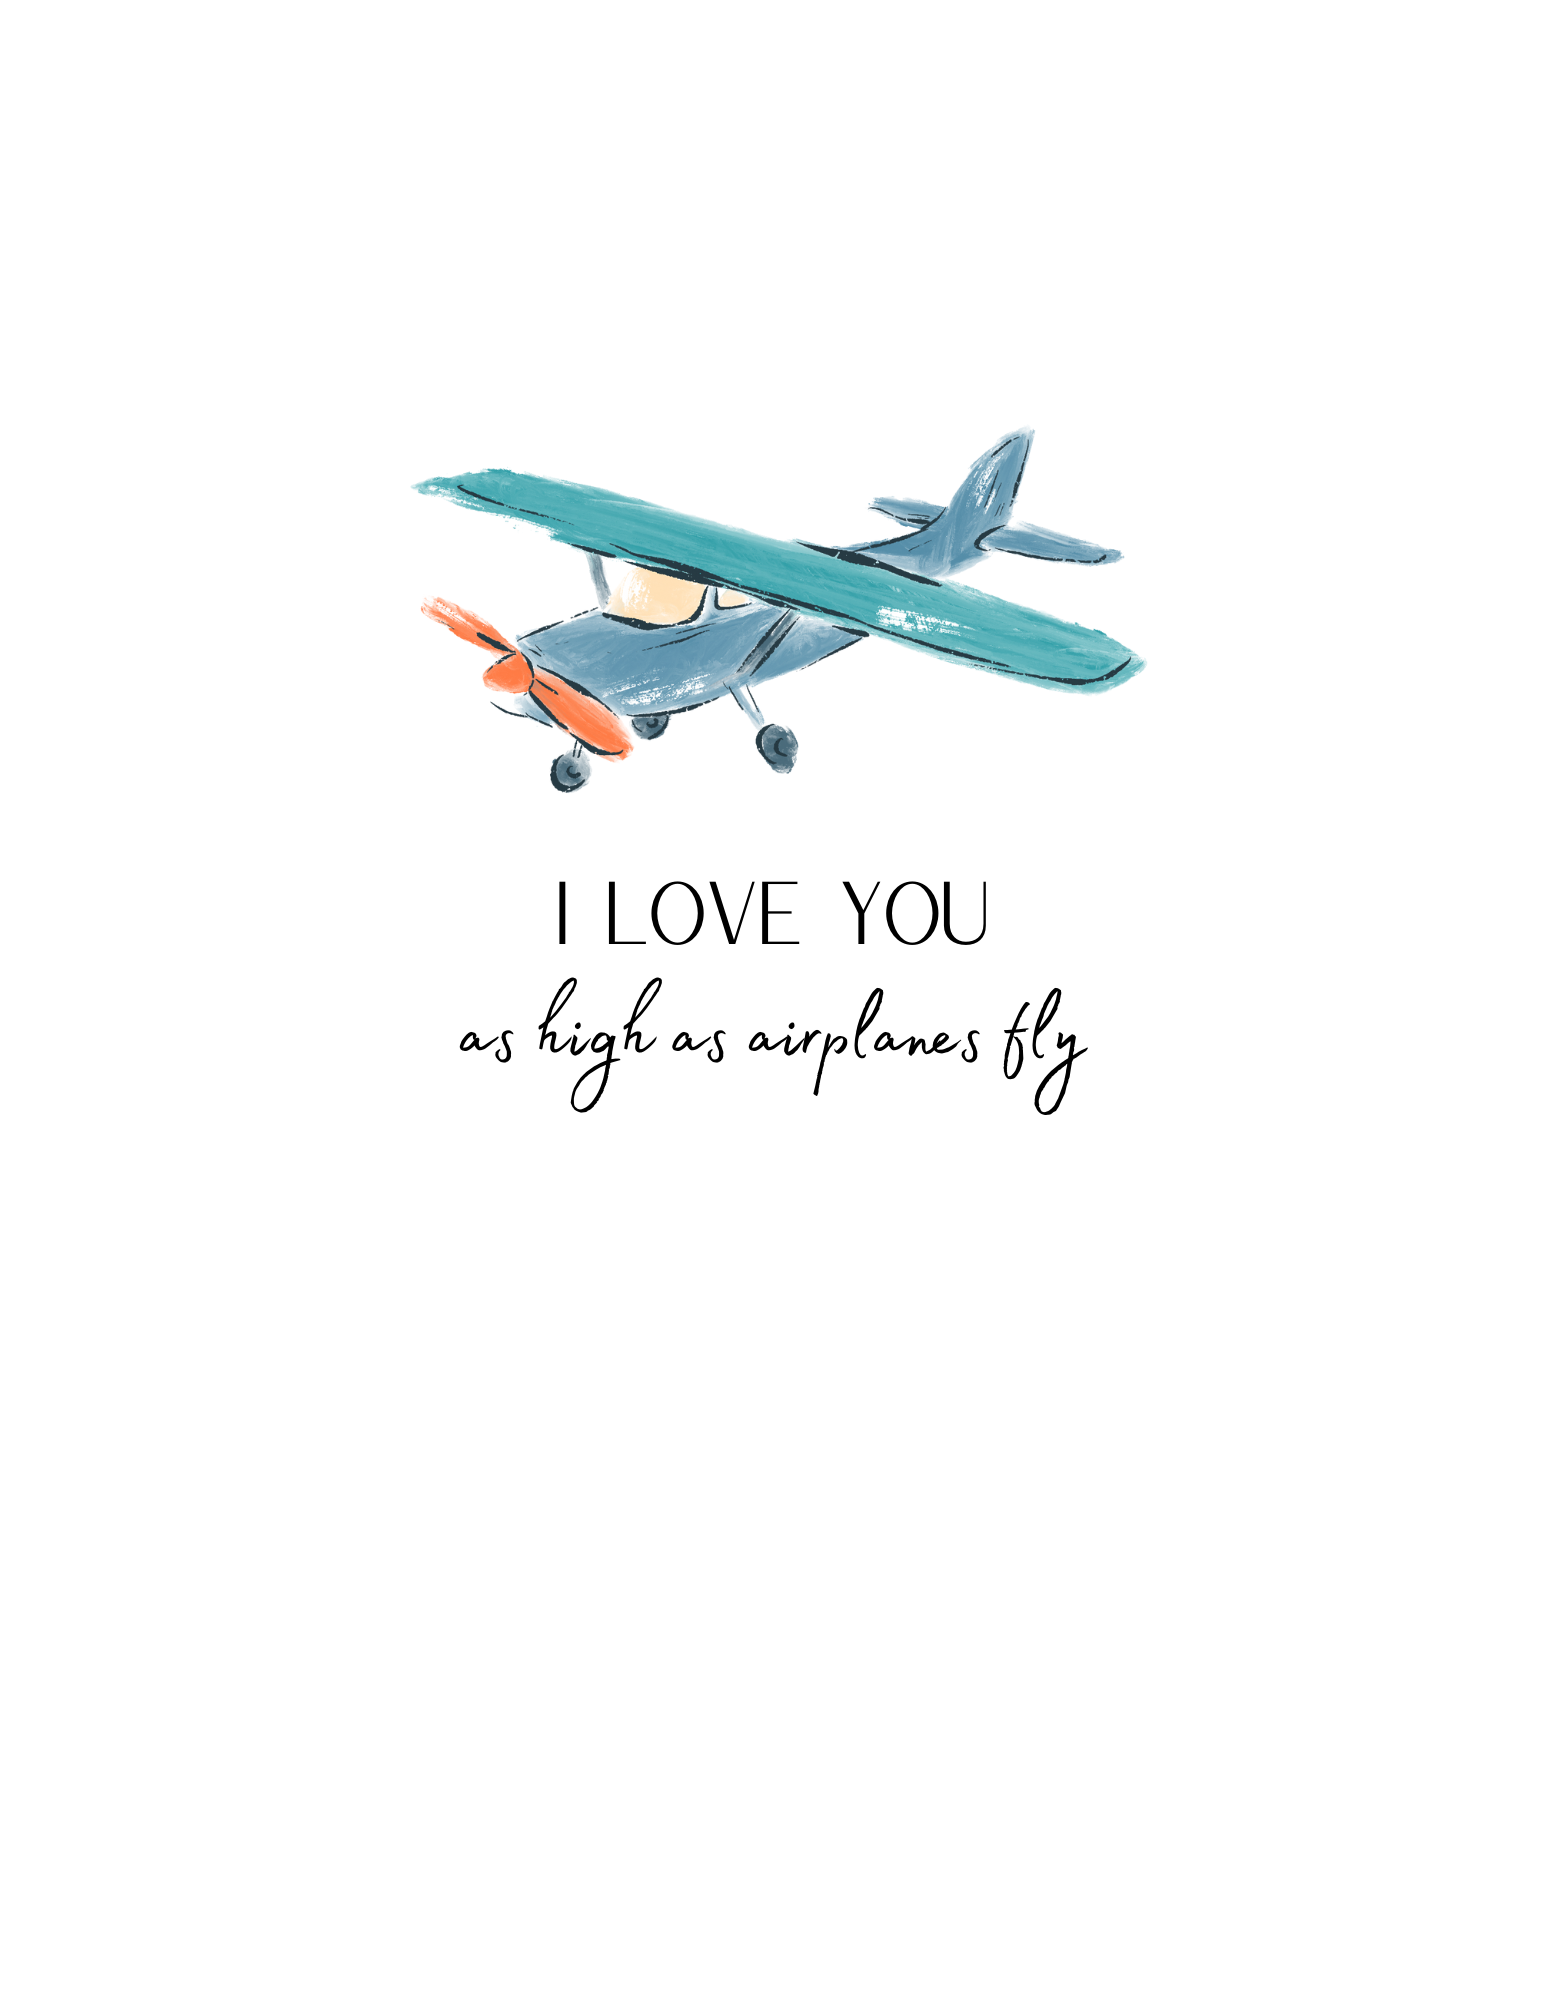
- Airplane Graphic – 8″ Hoop or 6″ Hoop
You know when you think you have a great idea with only like a 3% faith that it will turn out, but you decide to give it a try anyways?
Yeah. This was one of those projects – a 3 percenter.
I was searching for embroidery hoop wall decor for my kids’ rooms and just couldn’t quite find what I was hoping for. Then the idea hit me – what if there’s a way to print onto canvas (because, let’s be honest, my painting skills are not up to par for something like this).
Well guess what?
Apparently, there’s such a think as canvas paper that you can run right through your inkjet printer. Who knew?!
Ok ok, maybe everyone else knew because there are a LOT of reviews for it on Amazon. Apparently I’m a little late to the game, but it was a happy surprise!
Step 1 – Design
I started with drawing up the designs in Canva. If you haven’t heard of it before, Canva is an online graphic design platform that offers tons of features for free, or you can upgrade to a paid plan for premium tools & content. I use it for ALL my design boards, graphics, social media content, etc. (not sponsored – I just really like it and use it all the time).
The “sunshine” and “airplanes” graphics are available to download in the Tools & Supplies list above or click on the correct size below.

Step 2 – Test Print
The downloads should be sized correctly for either 8″ or 6″ hoops as indicated, but I recommend running a test on regular paper first. Sometimes printers do weird size things, and I wouldn’t want you to end up wasting a piece of canvas paper!
Make sure you also double check what side your printer prints on. Our printer flips the paper over when it pulls it through, so I actually had to put the canvas in upside down to get it to print on the correct side. Again, every printer is different so double check how yours likes to roll (see what I did there …).
Step 3 – For Real Print
Once you’ve confirmed the correct size and side, print the design onto the canvas.

Step 4 – Hoop. Hop. To the Hoopity Hop.
Total aside – did you ever play the clapping game with the song “Down by the banks of the Hanky Panky, where the bull frogs jump from bank to banky, with a hip, hop, hippity, hop, leap off a lily pad and go KERPLOP”?
Anyways.
Unscrew the outer layer of the hoop and separate the hoops.
Now this part takes some patience and finesse. Center the canvas over the continuous hoop and bend the edges of the canvas over the hoop a bit.
I found it helpful to hold the canvas and hoop in front of a window to make it easier to see.

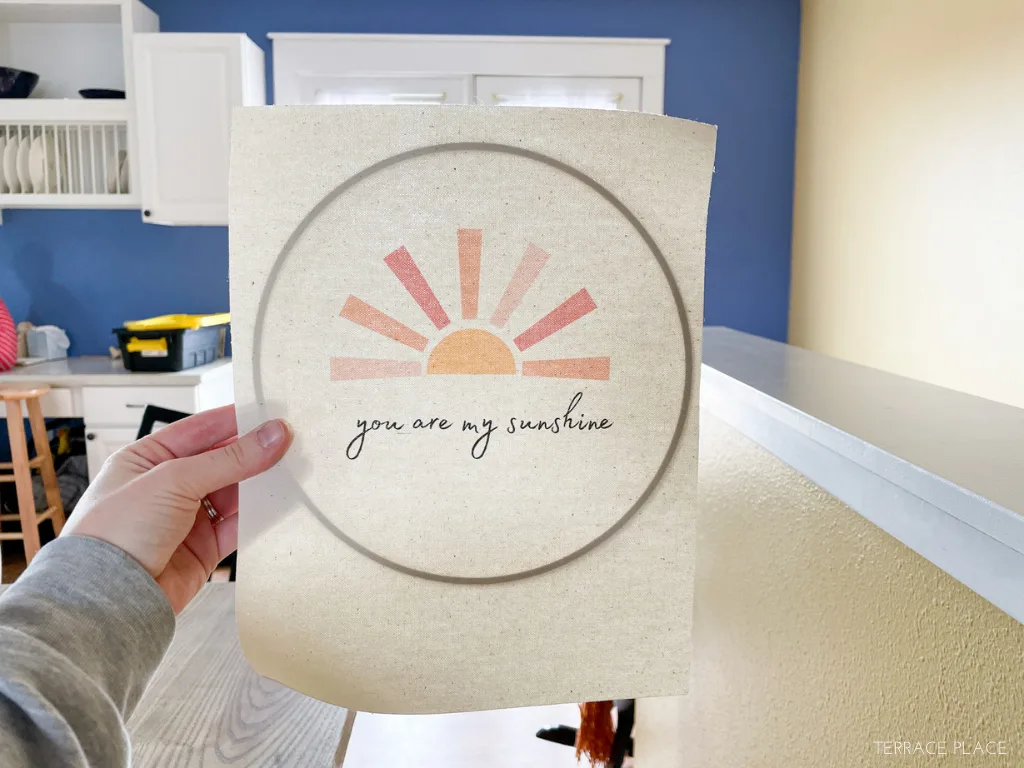

Make sure the canvas and design stay upright and centered while you slide the outer hoop back over the top. Once your happy with positioning, tighten the screw back down to pull everything taught and hold the canvas in place.
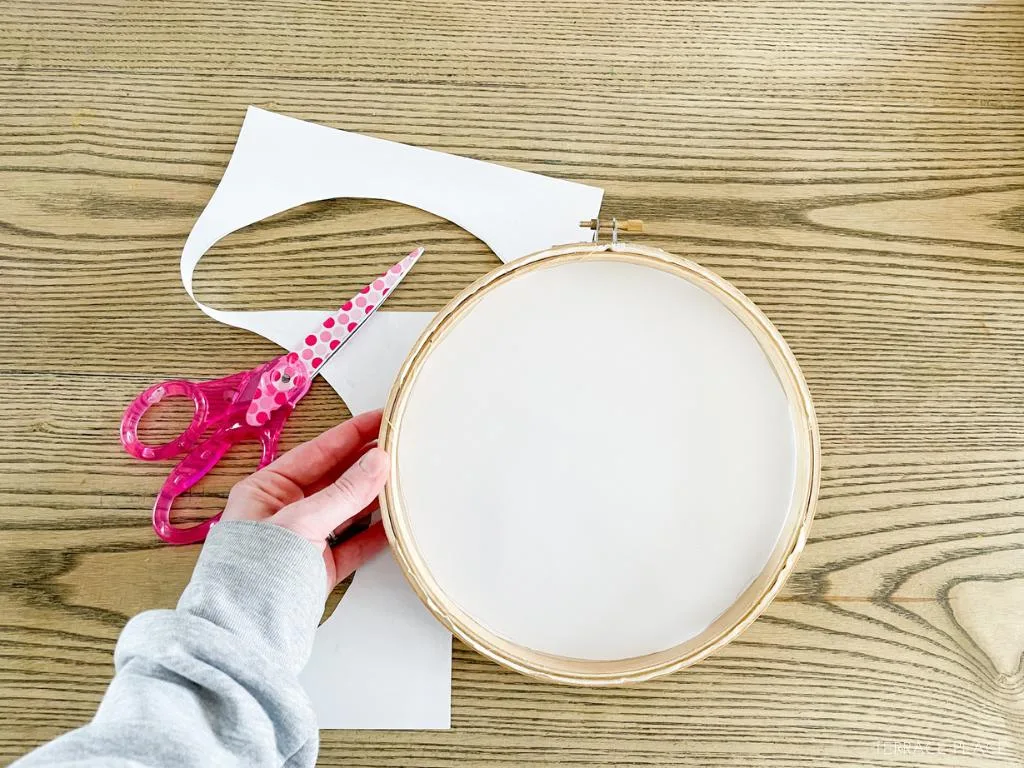
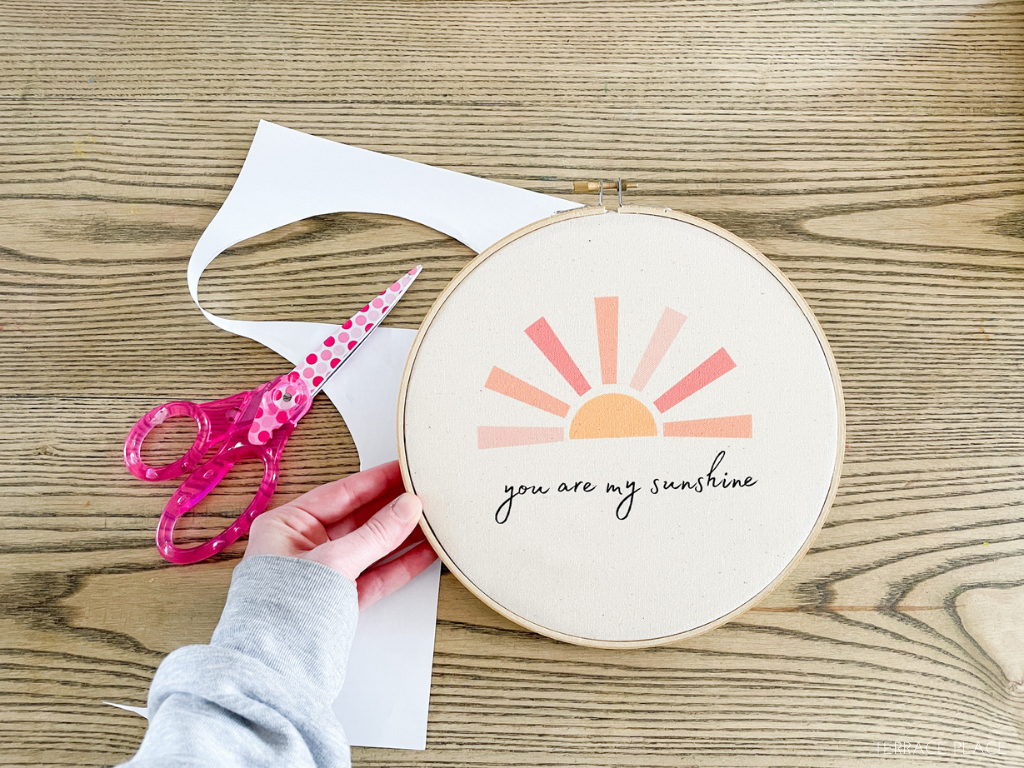
Flip the hoop over and cut the excess canvas off the back with a utility knife or scissors.


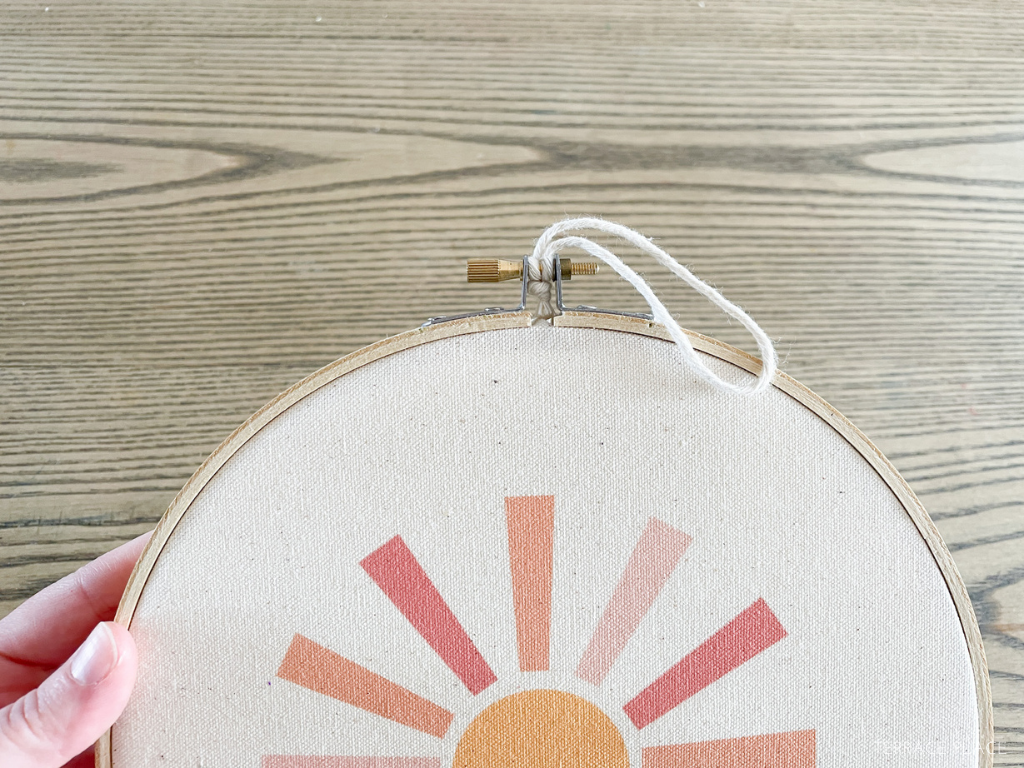
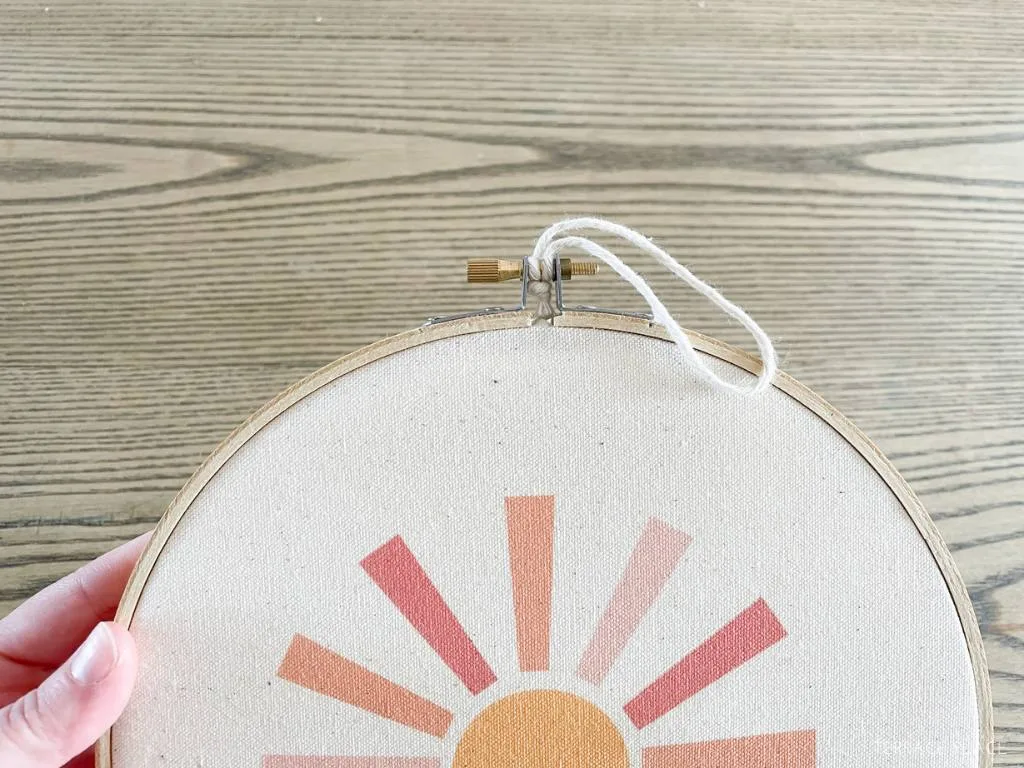
Step 5 – Loopity Loop
Tie a small piece of string around the top screw to hang the hoop. I used cotton twine, but little strips of leather, brown twine, or ribbon would also be cute!
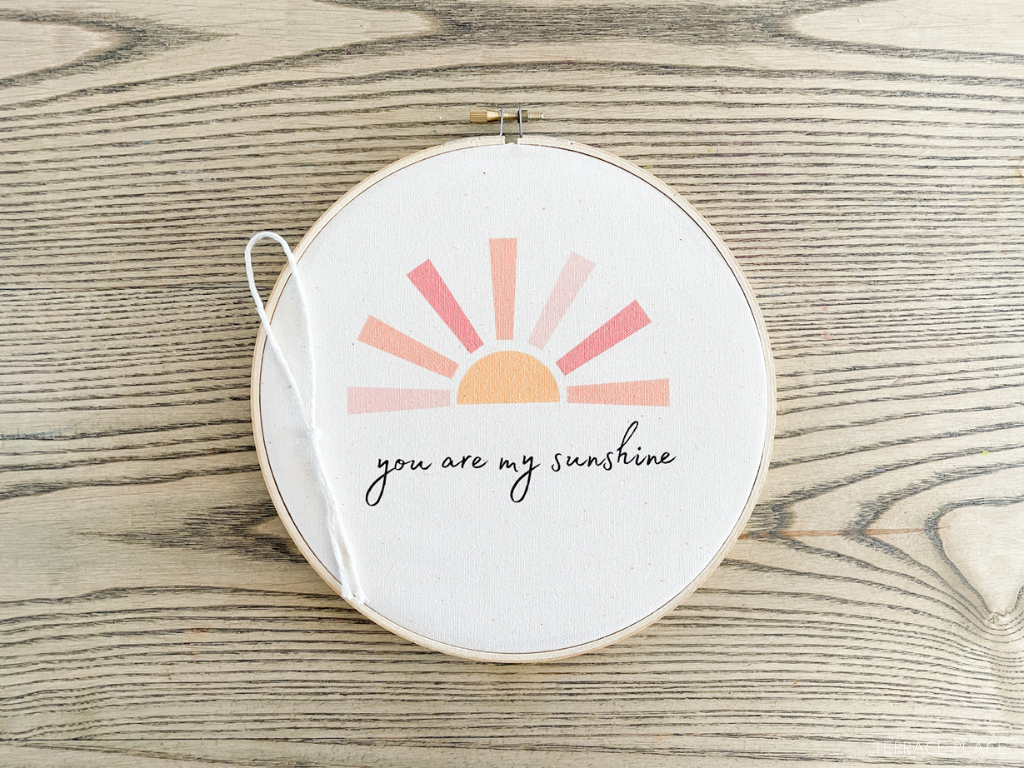
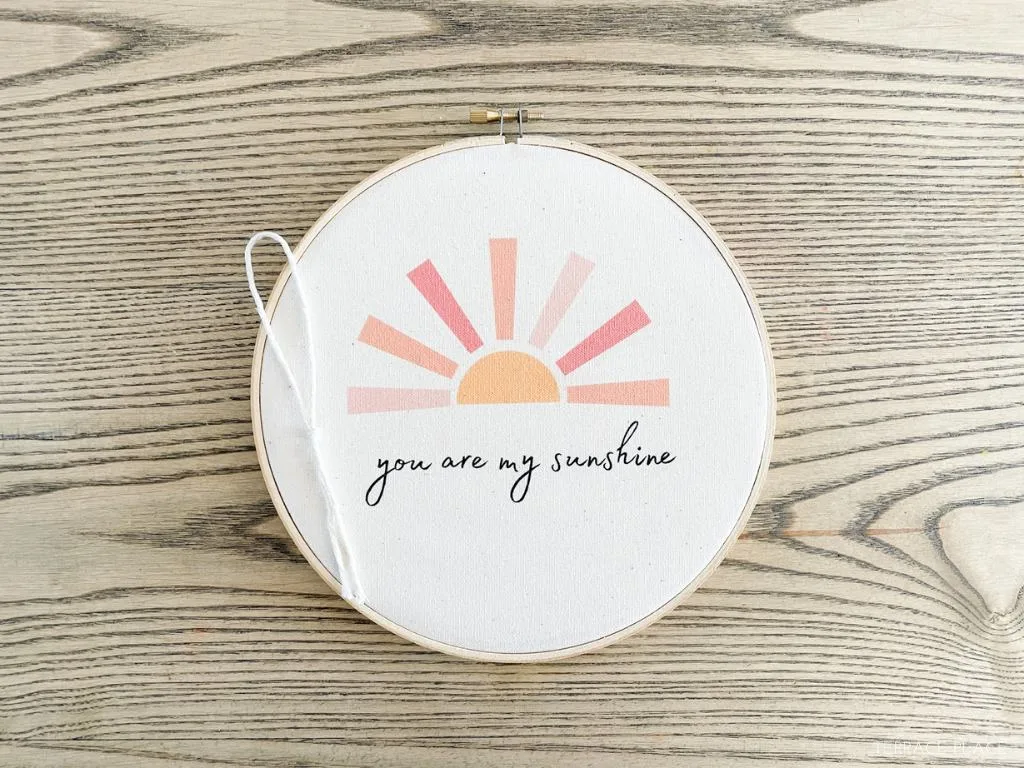
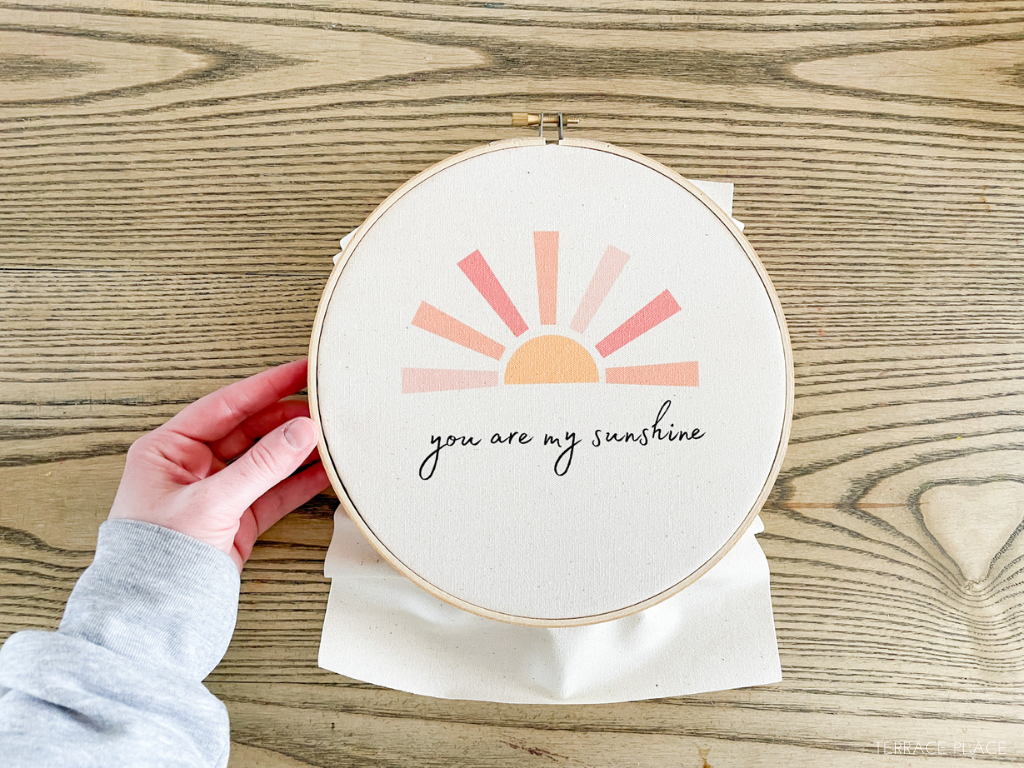
And DONE.
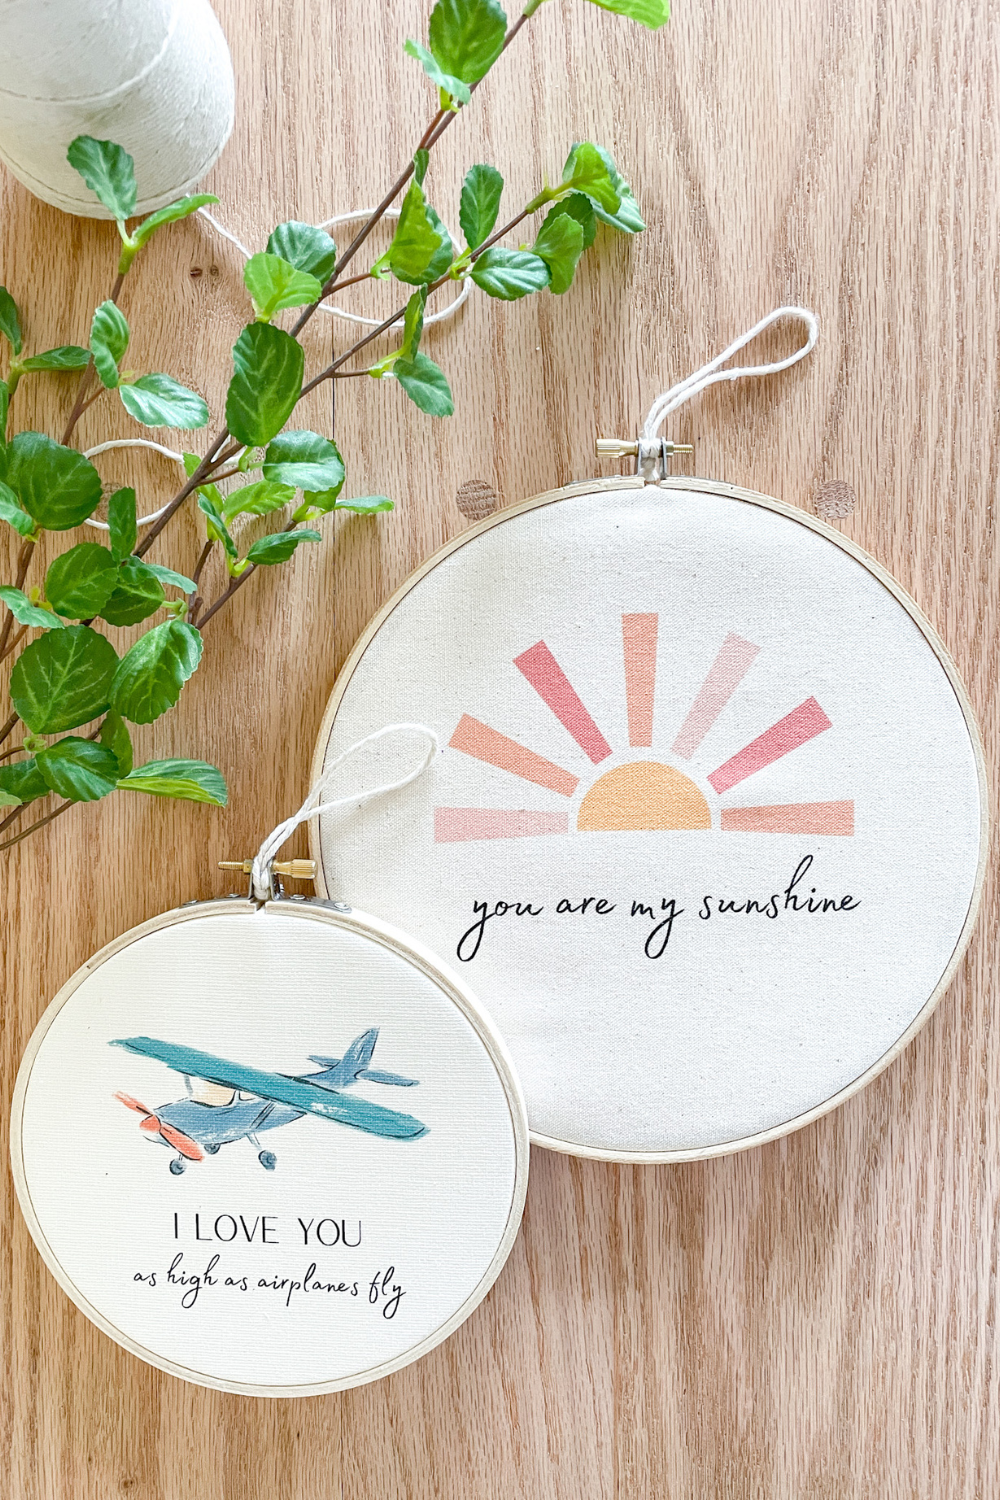

How cute are those?!
What started as a 3-percenter project turned into one of my favorite crafts to date and the perfect kids wall decor!
And, as always, please let me know if you have any questions on this embroidery hoop baby & kids wall décor, and I’ll get back to you as soon as possible.
| Tylynn |