
If you’re just joining, welcome to the Bitterroot Scrap Wood Series!
The what?
Head over to Day 1 to catch the beginning of the shenanigans, as well as our exciting news.
Long story short – I’m sharing a new scrap wood project every Monday, Wednesday, and Friday in May and this is Day 3!
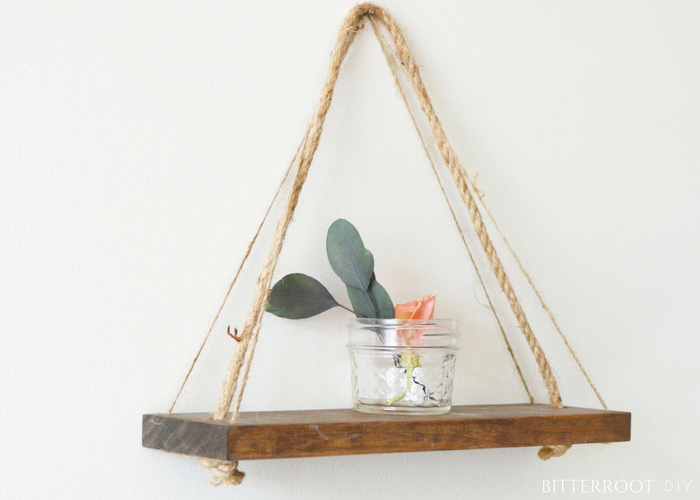
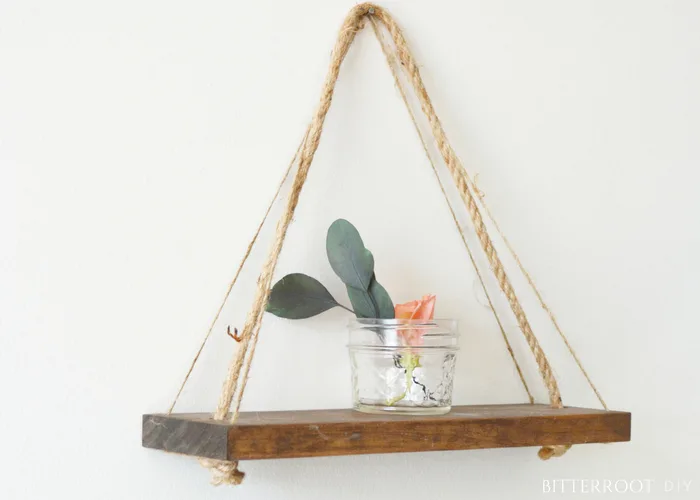
These triple rope shelves were a super quick project – just one naptime! #naptimehustle #amirighttt 😉
This post contains affiliate links. If you make a purchase from one of the links, I may make a small commission at NO EXTRA COST to you. This helps keep the tutorials and plans free here at Bitterroot DIY. Thank you for your support! See my full disclosure here.
Tools & Supplies:
- Jute Rope
- Jute Twine
- Drill
- 1/2” Forstner Bit
- 1/8” Drill Bit
Lumber:
- 1 | 1 x 4 @ desired length
Step 1.
Cut 1 x 4 boards to desired length. I made three 12” shelves.
Step 2.
Using a ½” Forstner bit (or any ½” bit), drill a ½” hole in the center at each end of the 1 x 4.
Step 3.
Using a 1/8” bit, drill a hole in each corner of the 1 x 4 (for a total of four).
*Tip: clamp your board to a spare board when drilling to avoid tear out on the bottom side.
Step 4.
Sand and finish. I used Minwax Special Walnut Stain and Spray-On Polyurethane to seal the wood.
Step 5.
After the stain and poly dry, thread a piece of jute rope through each ½” hole in the center of the ends of the shelf. Tie a knot at each end of the rope to hold it in place.
I cut the jute rope to about 20”, but it just depends on the length of your shelf and the look you’re going for. Start with one end of jute rope attached and then adjust to your liking to figure out what length works best!


Now.
I’ll do my best to explain the twine part.
Fingers crossed that this makes sense.
There should be a small 1/8” hole in each corner.
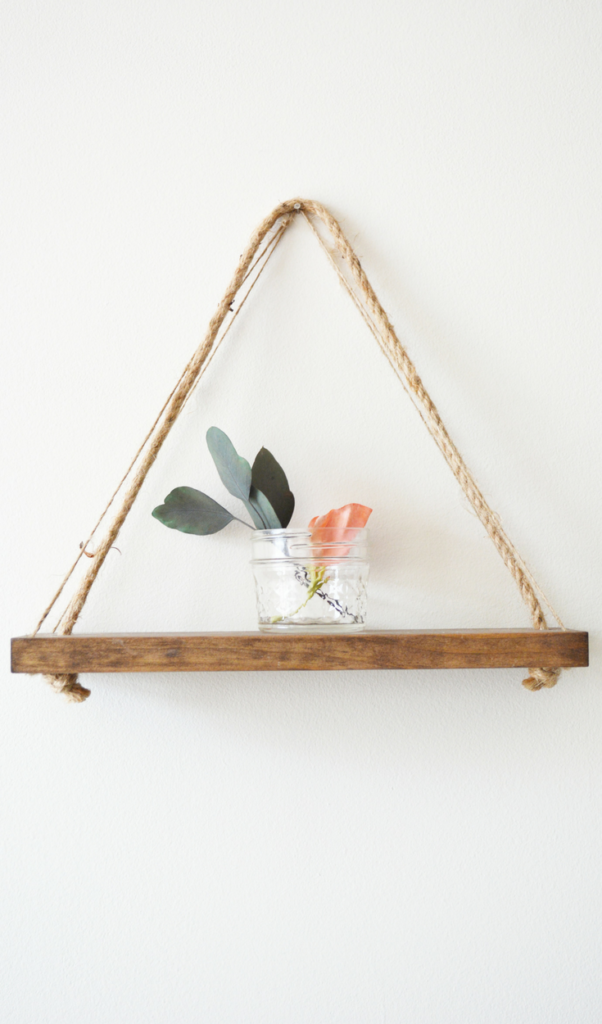
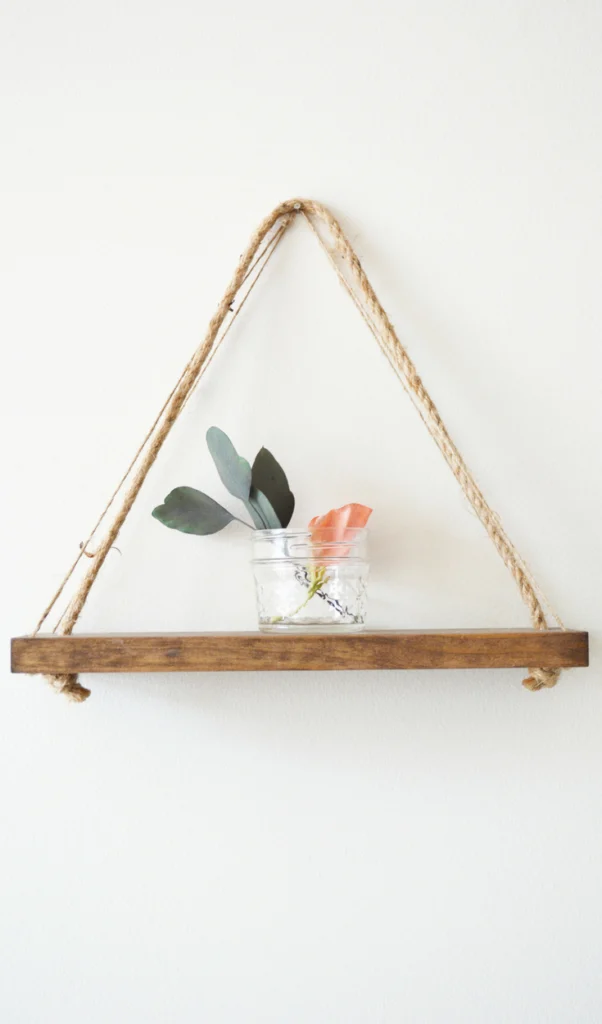
Thread one end of the twine through the back left hole – from the top of the shelf to the bottom. Run the twine across the bottom of the shelf to the front left hole and thread it through from the bottom of the shelf to the top.
Thread diagonally across the shelf to the back right hole and through from the top of the shelf to the bottom. Again, thread the twine across the bottom of the shelf to the front right hole and through from the bottom of the shelf to the top.
Adjust the criss-cross until it is the same length as the center jute rope. Give a little extra room to tie a knot.


Once you cut the twine, you should have two free ends – one from the back left and one from the front right. Tie them at the center where you’ll hang the shelf.
Let me know if you have any questions and I’ll get back to you as soon as possible!
Thanks for stopping by!
For more project ideas, you can find me on Pinterest. And to stay up to date with the latest shenanigans, follow me on Instagram.
![]()
![]()

