Looking for a quick, easy project to add a little charm? This picture frame upscale is just the thing! It took me about an hour and was super fun. Something a little different and unique to add to your walls or bookshelf!

Materials:
- Old Picture Frame (I picked one up from the thrift store)
- Sandpaper
- Paint of your choice
- Paintbrush
- Twine
- Mini Clothespins
Step 1.
Disassemble the picture frame. I discarded everything but the wooden frame – cardboard backing, inner golden frame, glass (it didn’t actually have the glass on it when I found it at the thrift store, so that was easy 😉 )

You’ll be left with a plain wooden frame … nothing too crazy.
Step 2.
Sand the frame down so that the paint will have a decent surface to adhere to. I used 150 grit, which worked great. Sand until the frame is fairly scratched up, but it doesn’t have to be completely down to the bare wood.
Here’s photos of my frame before and after sanding:

 You can still see that it has some of the stain color on it, but that wasn’t a problem.
Step 3.
Paint your frame with the color of your choice. I had some extra Rust-Oleum Painter’s Touch in Heirloom White sitting around from my dresser refurb project, so I just used that.
Rustoleum has a wide variety of colors and sells them in small cans if you’d prefer that option, or you could use acrylic paint.

I did two coats over the frame to get a solid, full color. Again, that’s up to you based on the look you want.
Step 4.
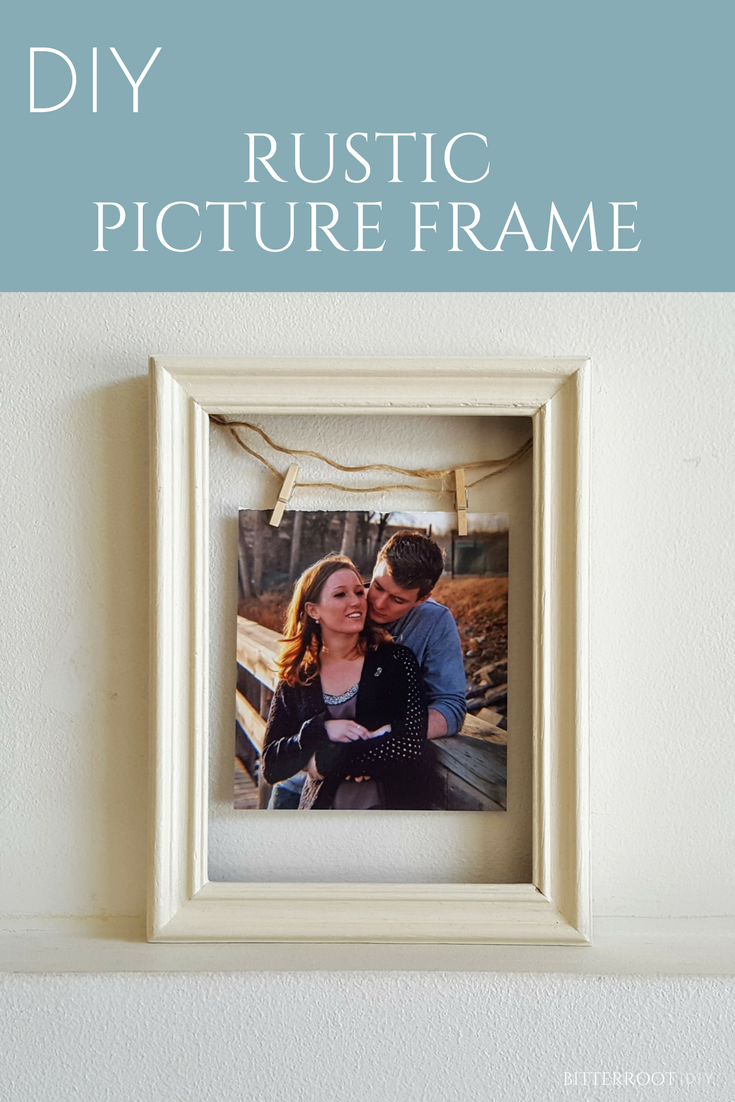
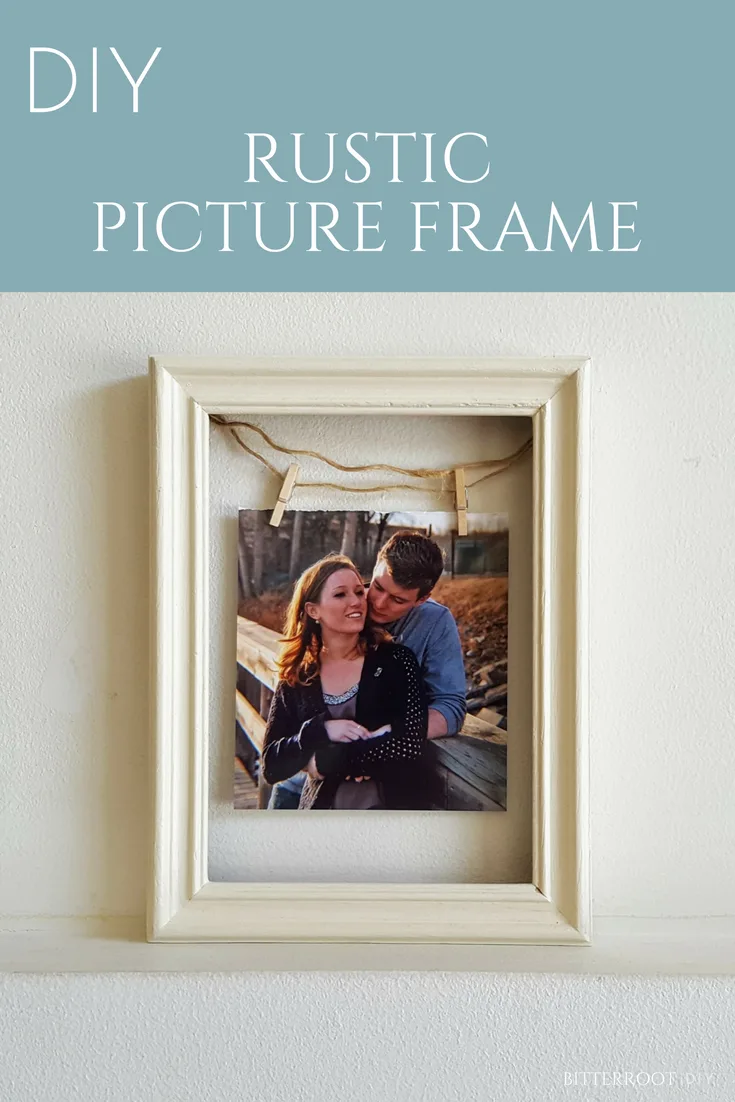
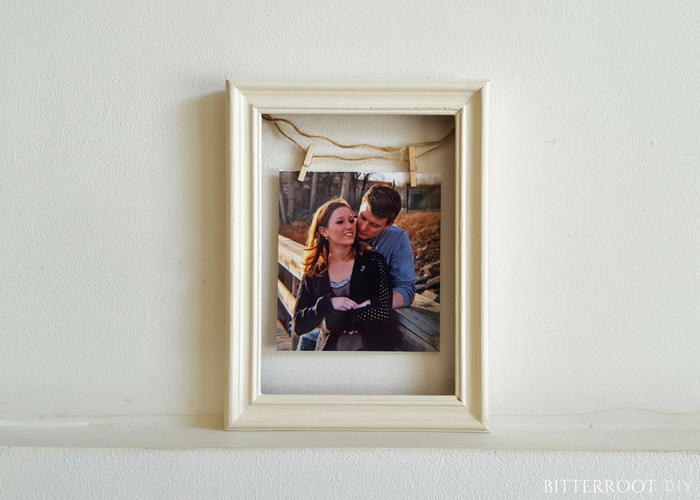
Adhere twine rope to the back of the frame, string two mini clothespins onto the twine, and adhere to the other side of the back of the frame. I attached my twine by tying a knot in the end and nailing it to the frame. A hot glue gun or staple gun would work just fine also. Let’s be honest … a hot glue gun is probably the most practical way to go … but I was in the garage and didn’t feel like finding the hot glue or waiting for it to heat up … yep. #lazy #overbuildersanonymous
![]()
![]()

Once your twine and clothespins are attached to the back of the frame, here’s a front view of what you’ll have:

Step 5.
Find a super cool picture, hang it in your new frame, and gaze at the beauty!
Let me know if you have any questions and I’ll get back to you as soon as possible!
![]()
![]()