
Hey all, thanks for stopping by Bitterroot DIY!
For more project ideas, you can find me on Pinterest. And to stay up to date with the latest shenanigans, follow me on Instagram.
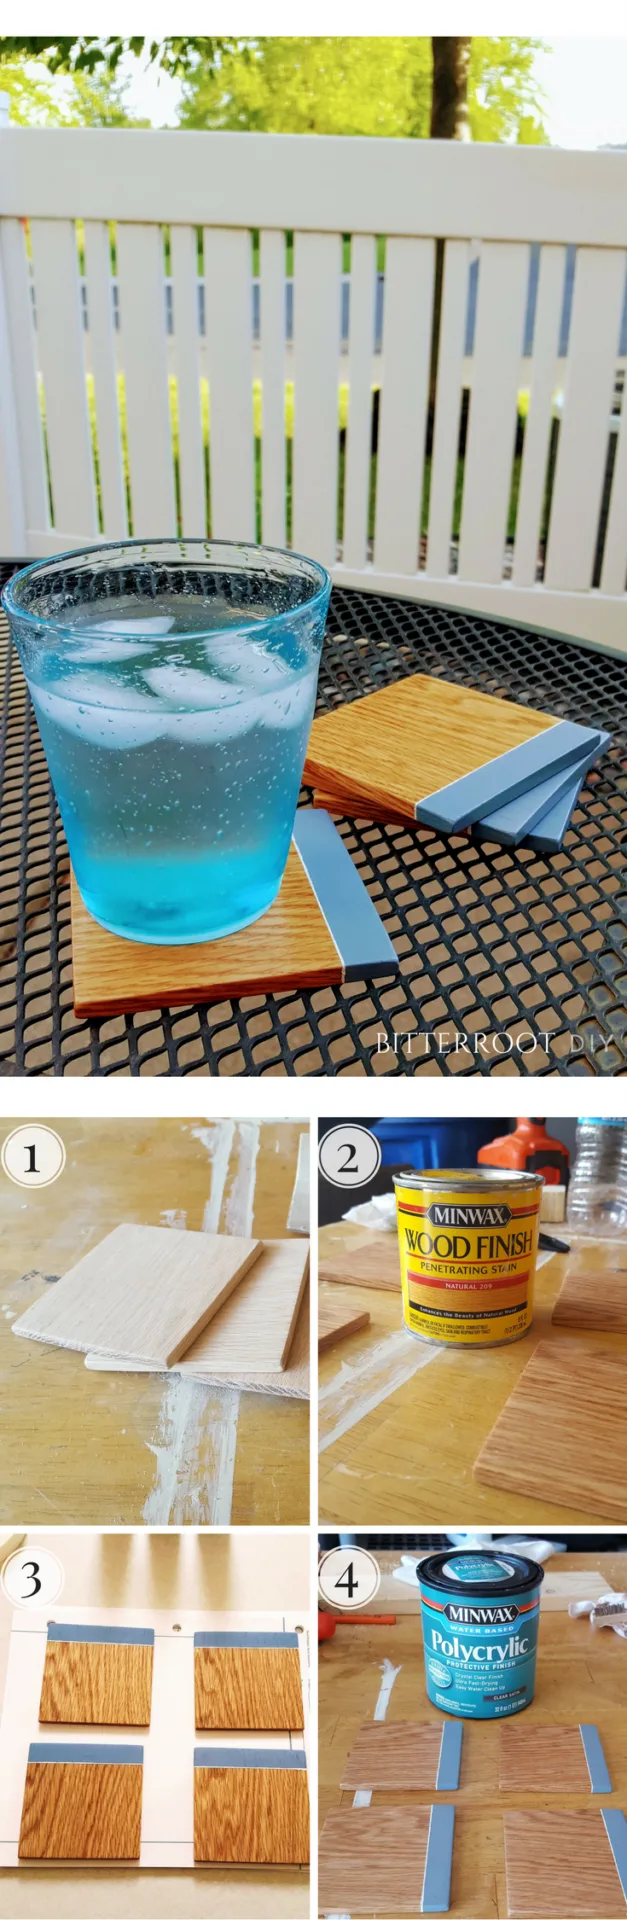
Alright, today I’m bringing to you the 15 millionth DIY wood coaster set tutorial on the interweb!!! *crazy cheers from the audience*
… maybe that’s just me cheering for myself … I’m ok with that.
Really, guys, there are a gazillion different ways to DIY coasters … I’m totally aware. But just in case you like this particular style, here’s the step-by-step 🙂 It’s a quick, fun project and can be customized to fit your needs.

Materials:
- ¼ x 4 x 3 Oak Board ( can be found at Home Depot)
- Minwax Stain in “Natural”
- Minwax Polycrilic
- Nice bristle brushes for the stain and polycrilic
- Acrylic Paint of your color choice
Cuts:
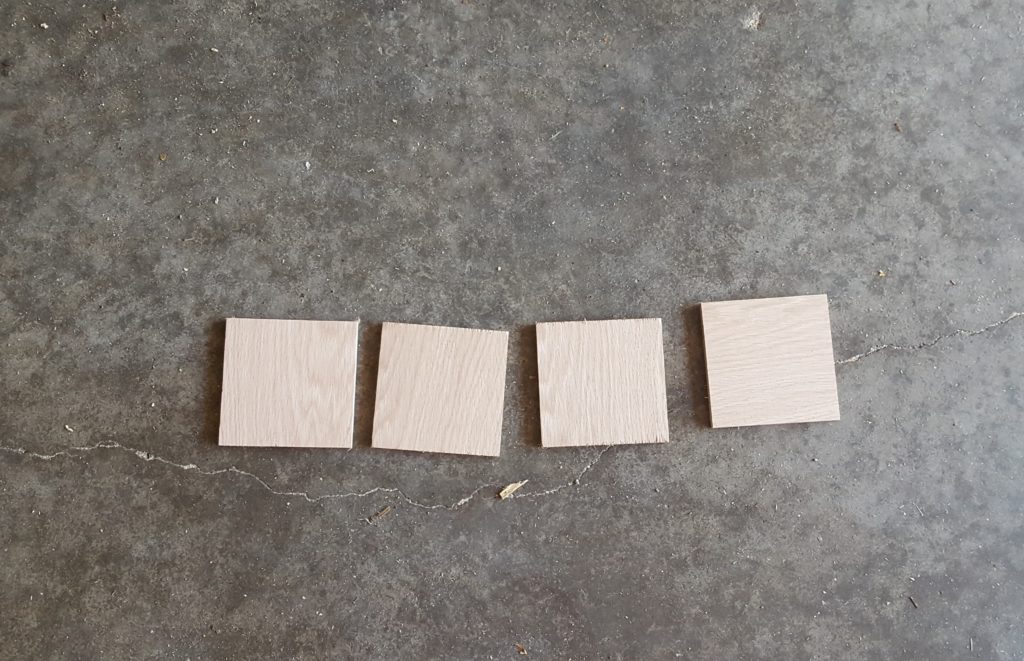
- 4 | Oak Board @ 3-½”
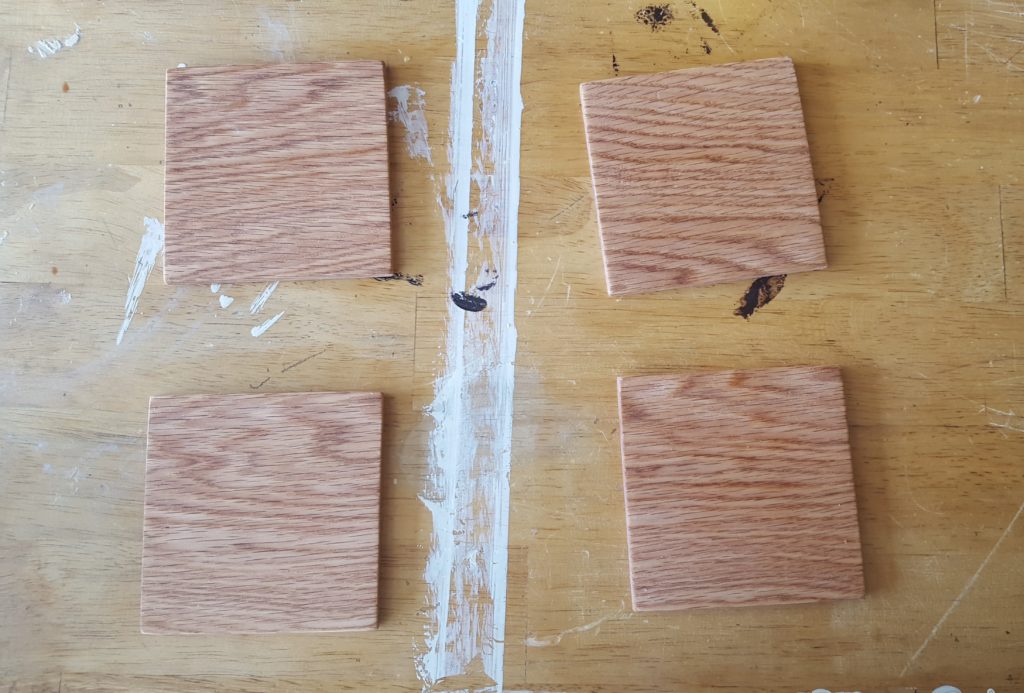
Step 1.
After you’ve made the cuts for your oak board, you should have four 3-1/2 “ squares.
Sand, sand, sand until they’re smooth as a baby’s bottom! I started with 80 grit and then moved to 120 grit sandpaper. Depending on how smooth you’re trying to get, you could continue to even finer grits. I found 120 grit to be just fine.
Sand both the front and back (to avoid scratching surfaces the coasters are placed on). Also, round the edges to give the coasters a nice, soft square shape.

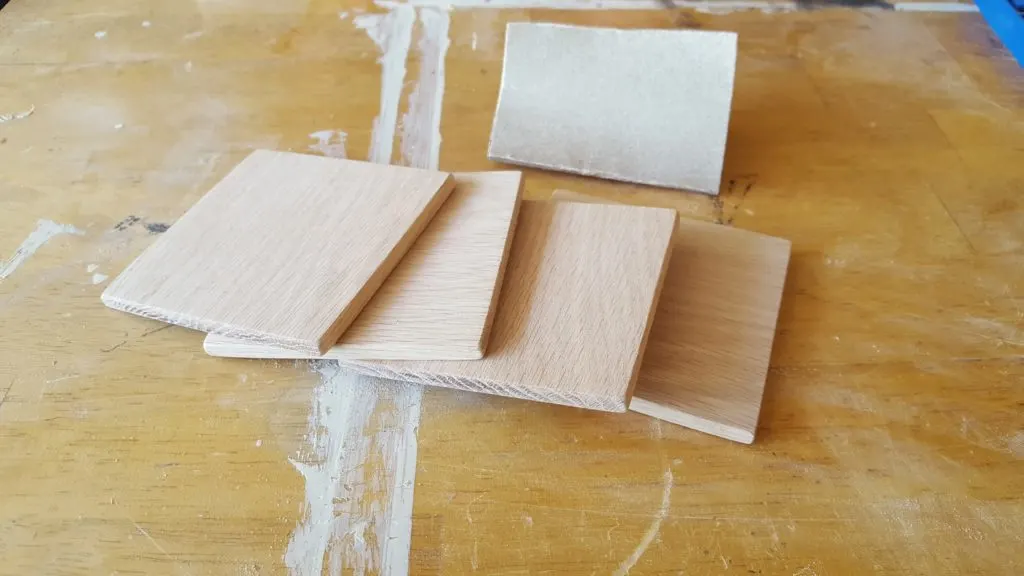
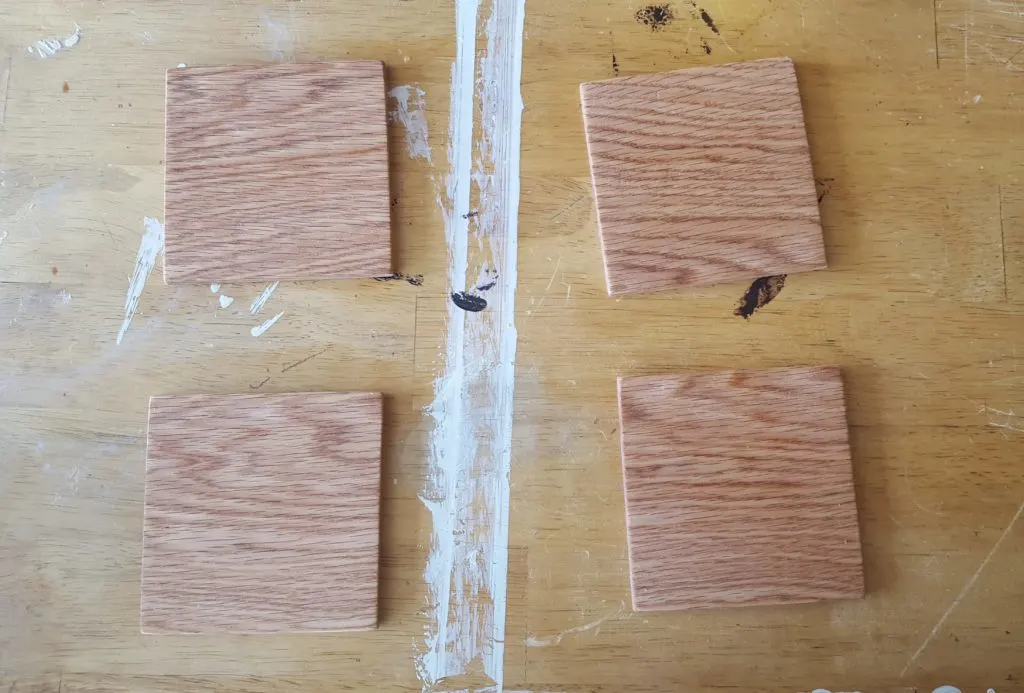
I did all the sanding by hand since the coasters were pretty small. I started with the orbital sander, and let’s just say things were not going super well … so I took it down a notch to the tried-and-true hand sandpaper method. Things went much better with that and I had some more control over how much wood was removed and how I shaped the edges.
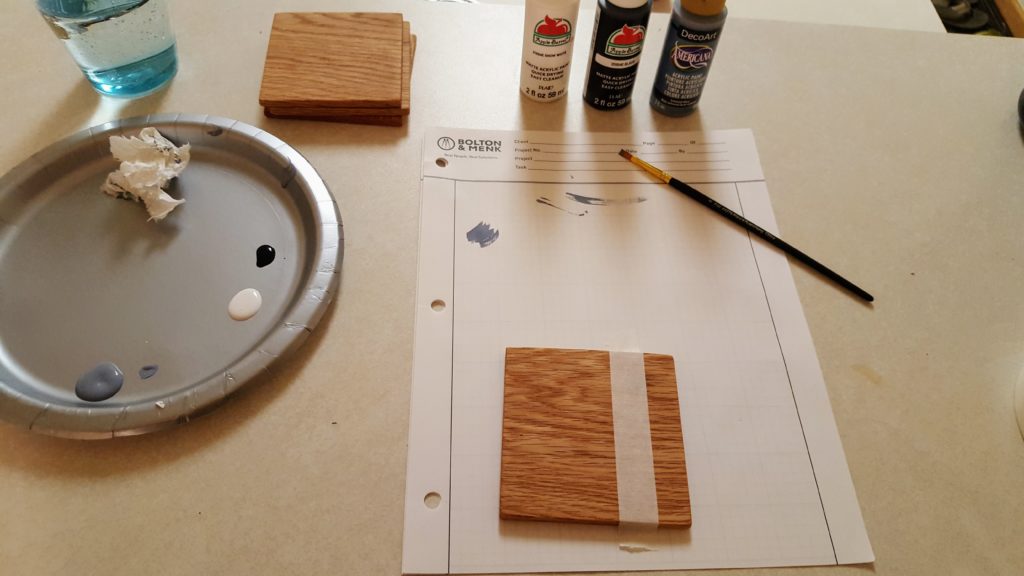
Step 2.
Once you have finished sanding, stain the coasters. I used Minwax “Natural” to accent the natural oak color and wood grain.
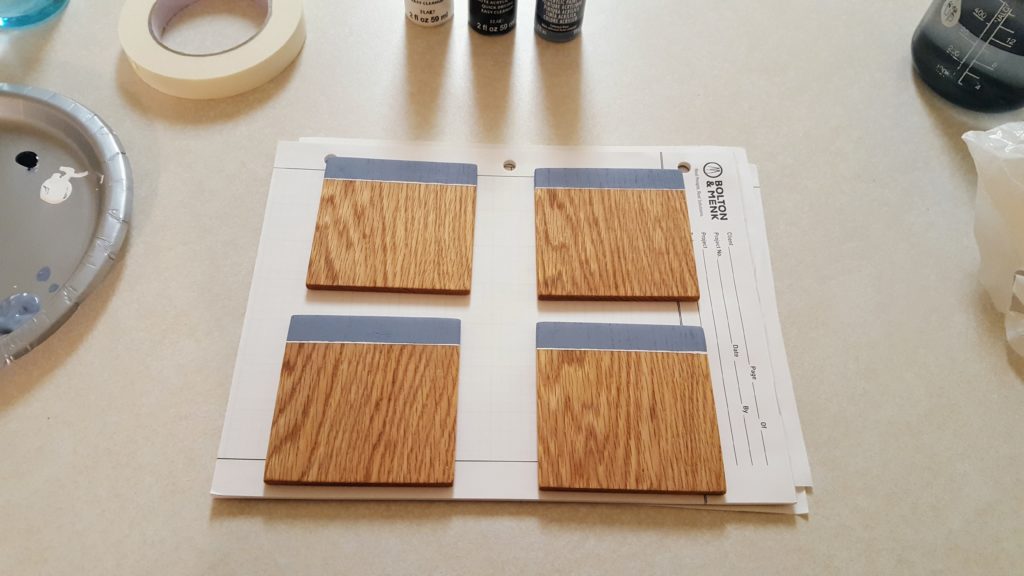
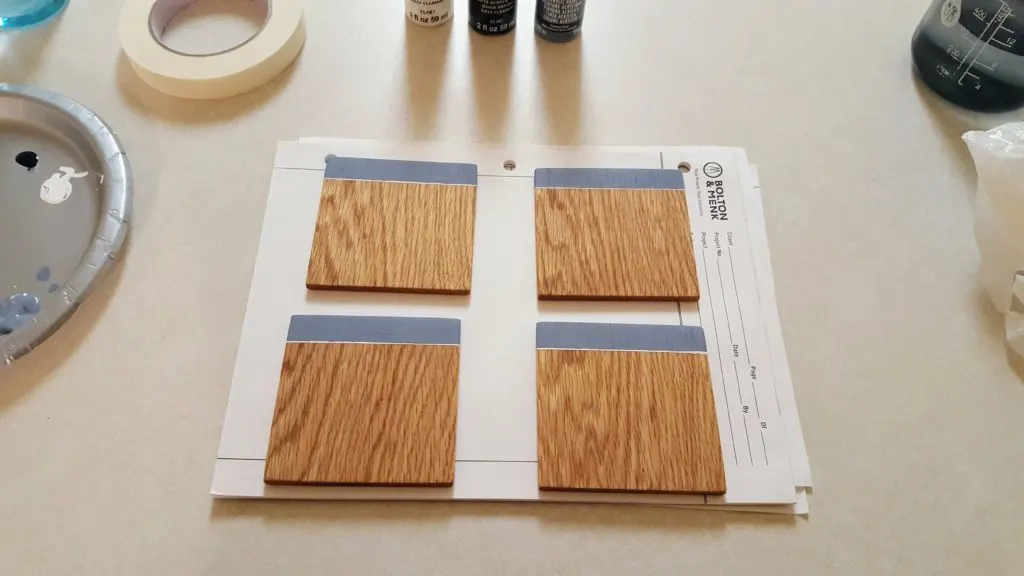
Step 3.
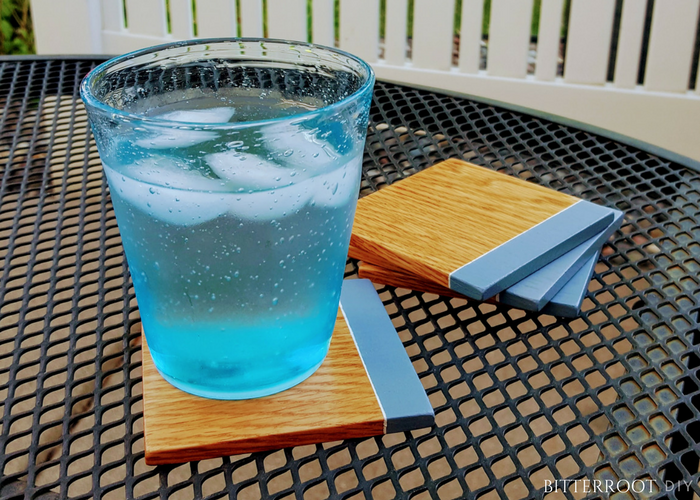
Paint the coasters with the acrylic paint of your choice. Use tape to mark off a straight edge to ensure the stripe is solid and has a good edge.


If you want to add a second stripe: wait for the first acrylic stripe to dry, add a new line of tape at the desired width from the first stripe, and carefully paint the along the edge of the first.

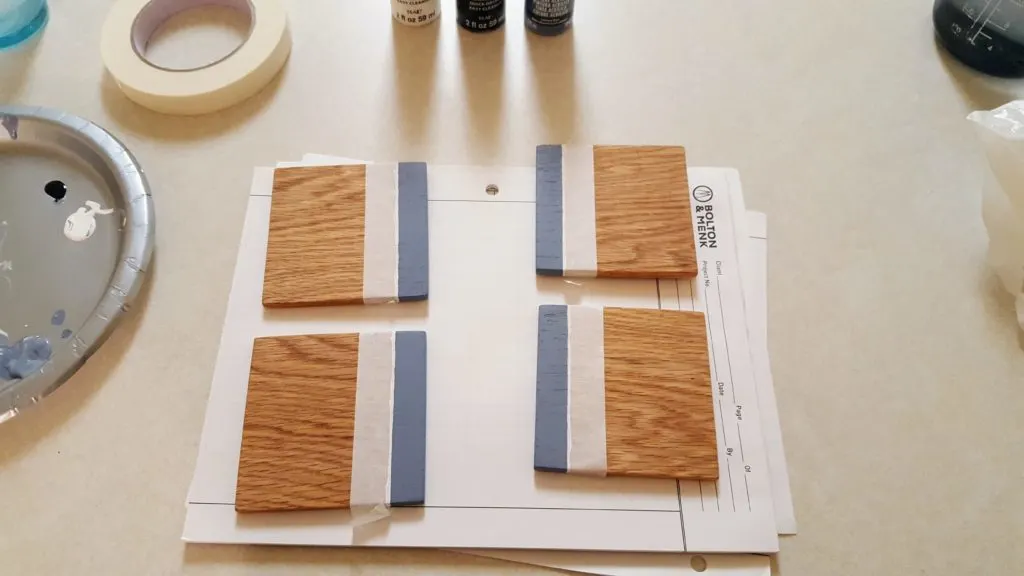
I chose to add a very thin white stripe next to the blue stripe, but that is entirely up to you!
It would have been simpler to paint a wide white stripe first, wait for it to dry, and then add the blue stripe on top of that. Then you wouldn’t have to freehand the second stripe as much. However, I was worried the tape might pull up some of the acrylic paint if I taped over it, so I chose more of a freehand approach.
If you feel like experimenting, I’d love to know if taping over the first acrylic stripe works! I was on a bit of a time crunch to get these done for my friend’s bridal shower, so I didn’t have time for experimenting.
But I am curious!
Step 4.
Once the acrylic paint has dried completely, seal the coaster set.
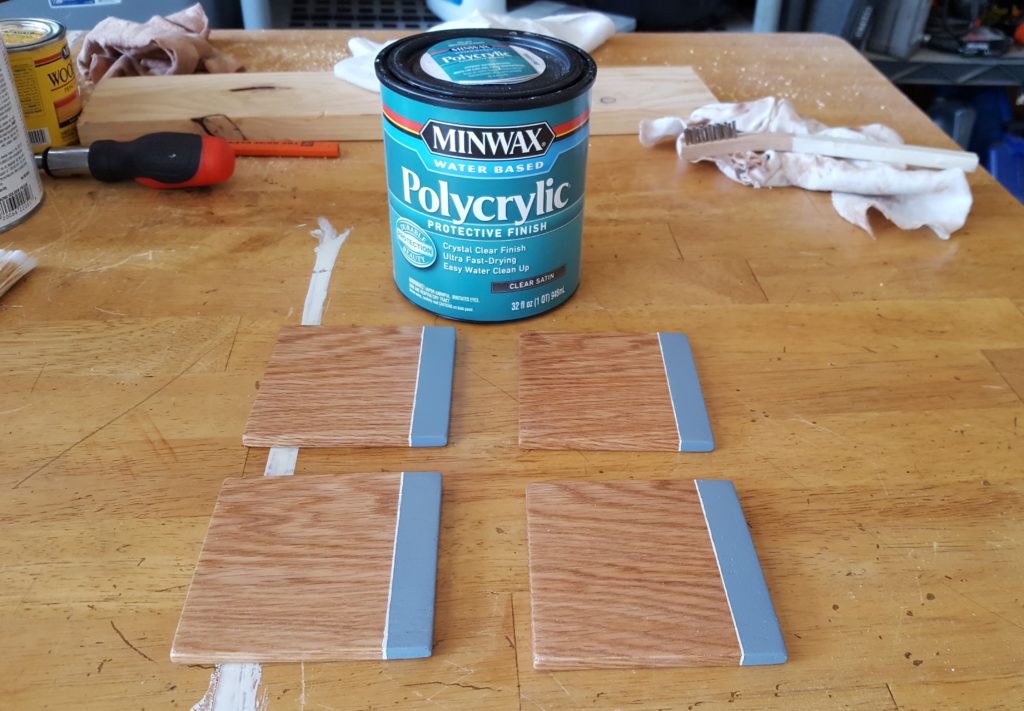

As recommended on the can, I applied three coats (front, edges, and back) of polycrilic.
And vwallah: Protect your tabletops with your very own custom wood coaster set!

Let me know if you have any questions and I’ll get back to you as soon as possible!
![]()
![]()

Introducing July's MOMtrepreneur. Soon To Be Mommy And DIY Blogger - Organizing Motherhood
Tuesday 18th of July 2017
[…] Coasters for my friends bridal shower. […]